Wedi offers a product system consisting of shower floor elements with integrated drainage, tile backer/wall panels, curb and seat structures, wall niches, sealants, and many other accessories. Wedi products can be combined to create a complete installation kit to build a fully waterproofed shower that can be tiled over. Nothing else is needed between your home’s framing structure and the tiled finish surface. Wedi Shower Systems are highly customizable despite the high level of prefabrication, are clean to work with, and are fast to install.
How to build a complete Wedi shower in 5 Steps?
While many products of the Wedi Shower Systems are marketed as complete kits in one box, a Wide range of à la carte product options exist to create a completely custom shower design. This section will explain which products are needed to create a shower floor or wall, which products are needed to equip the shower with niches or benches, and which installation accessories are necessary for the assembly.

Step 1: ShowerBases

Step 2: Building Panels

Step 3: Prefabricated Modules
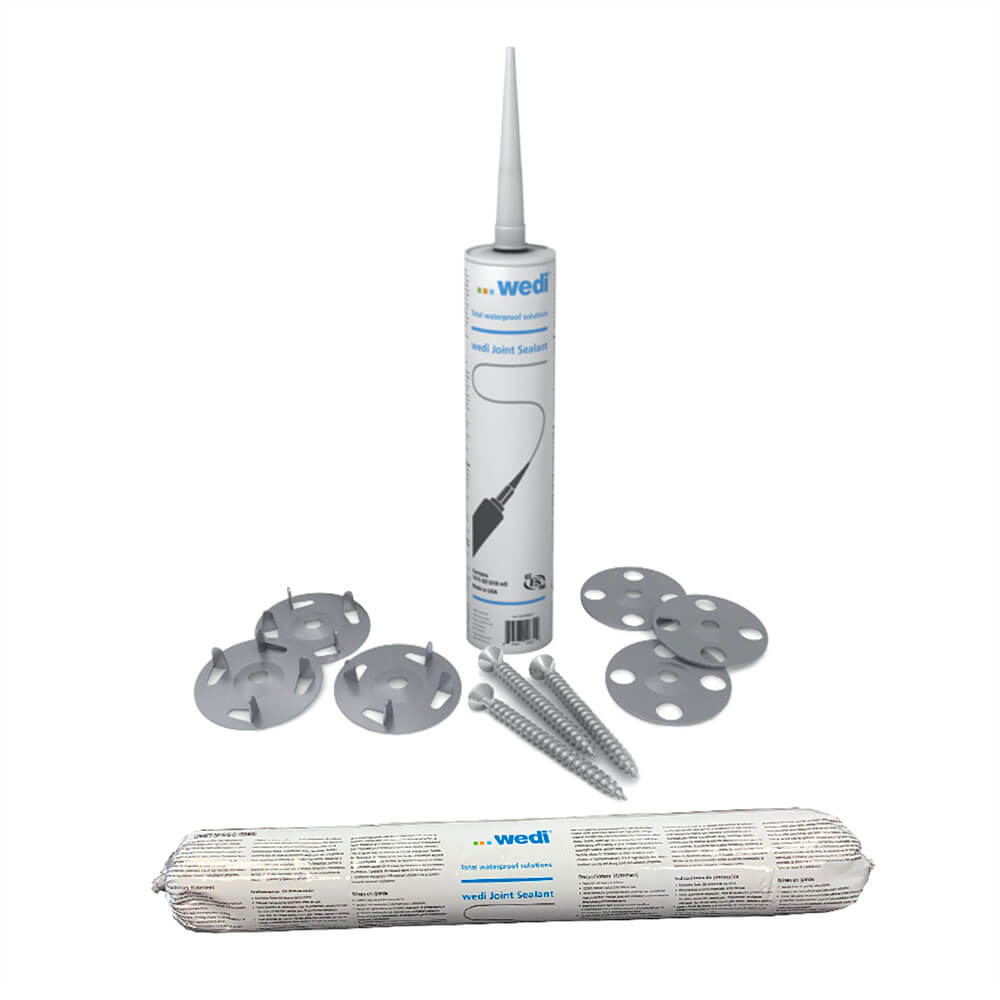

Step 4: Installation Accessories
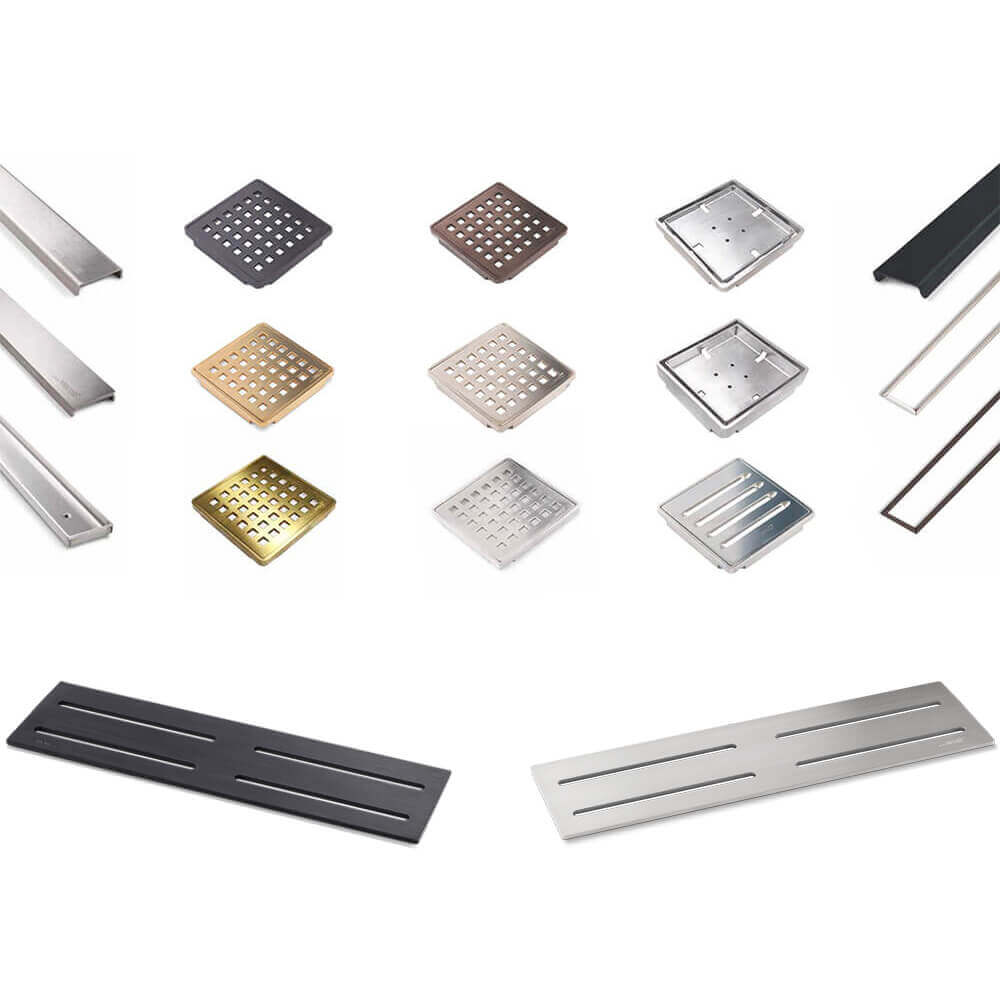

Step 5: Premium Finishing Options
Step 1: Choose a Shower Base
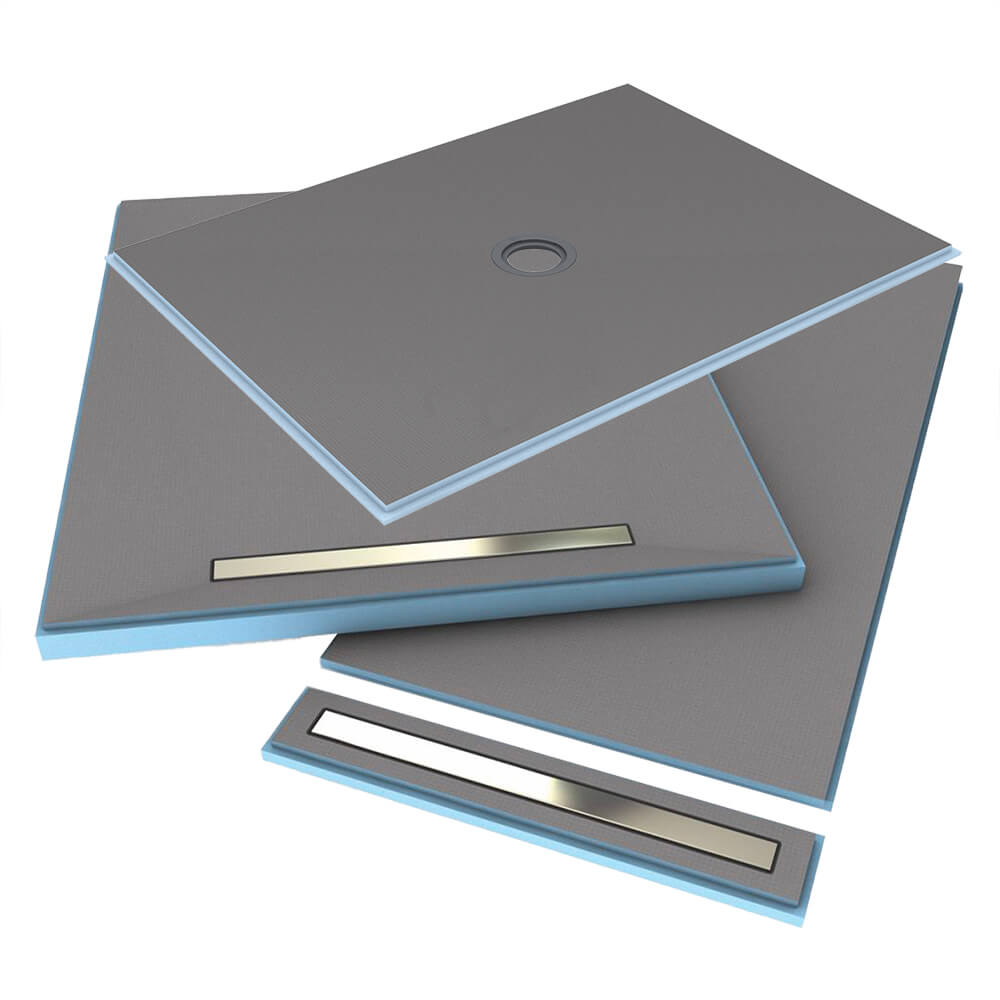
Wedi Shower Bases are needed for the shower floor, and offer a prefabricated, consistent slope to the integrated Wedi drain that is 100% waterproof and mold-proof. The bases are quick and easy to install, and come in a variety of sizes and designs.
-
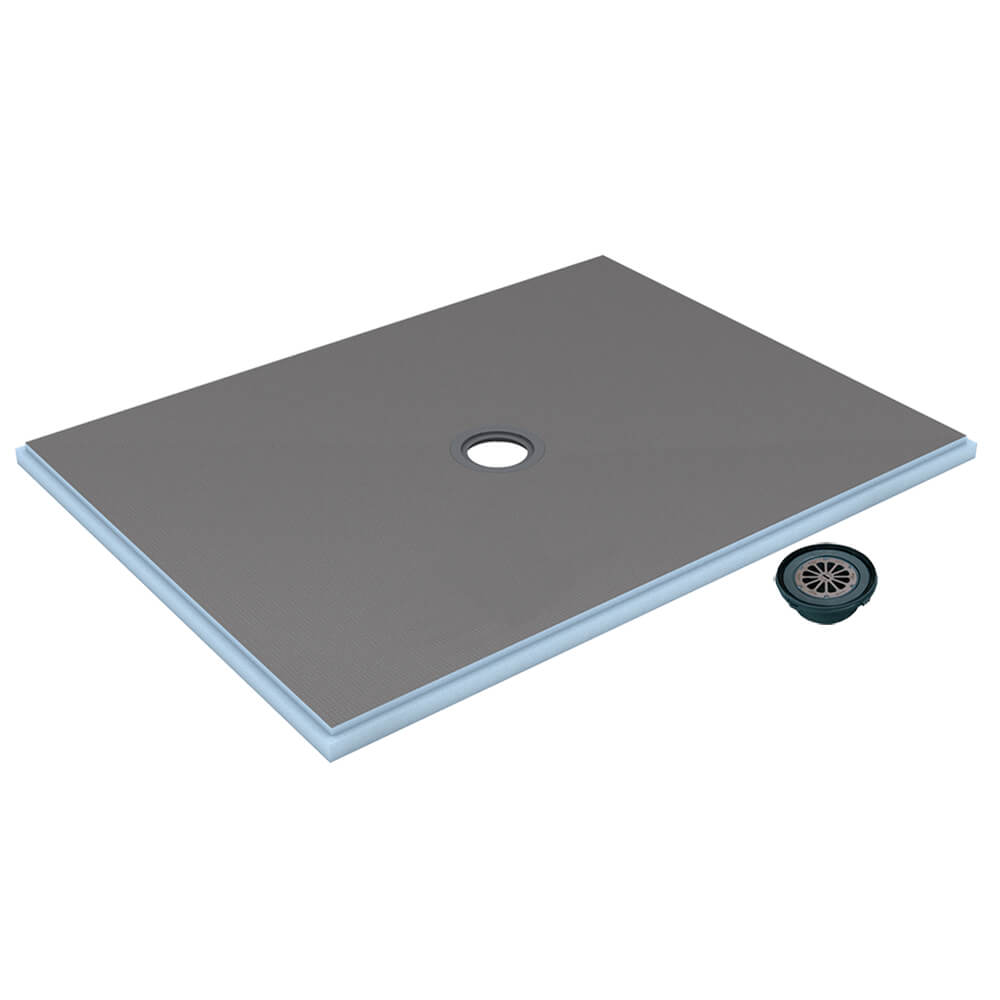
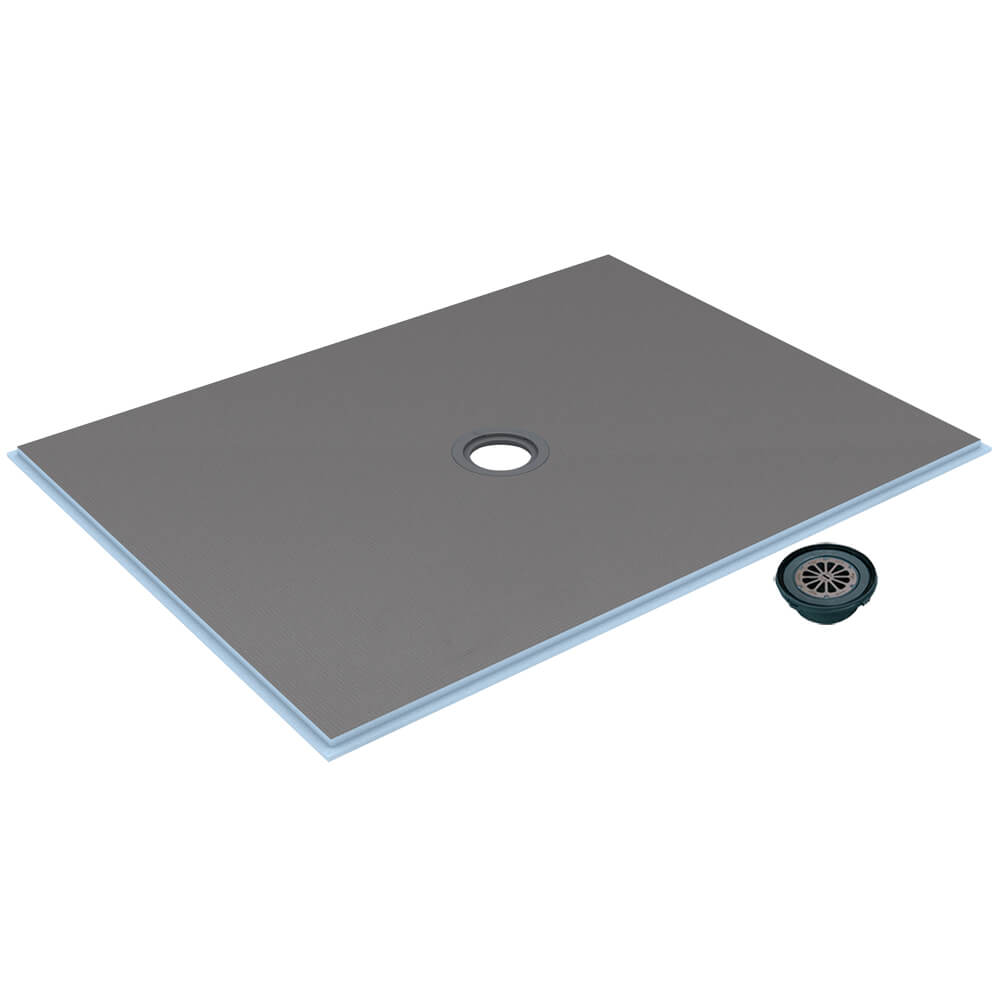
Wedi Fundo Primo Shower Base with Point Drain (Center or Off-Center)
The original Wedi Shower Base with center or off-center drain locations. These robust, pre-sloped, waterproof shower floor bases come with a Wedi Fundo Click and Seal Drain Kit.
Features:
- Multiple base sizes and extensions available: all customizable on site, if needed
- Square and rectangular base options with center or off-center point drain locations
- Slope design allows for use of small- or large-format tile when cut along slope lines
- Install over various types of subfloors
-
Wedi Fundo Ligno Curbless Entry Shower Base with Point Drain
These pre-sloped and waterproof shower bases are designed with a low profile perimeter thickness ranging from 3/4 in. to 1-1/8 in. to allow for an easier recess into subfloor construction or when barrier-free entry is required (where the shower base surface needs to be flush with the surface of the underlayment products used on the adjacent bathroom floor). They come with a Wedi Fundo Click and Seal Drain Kit.
Features:
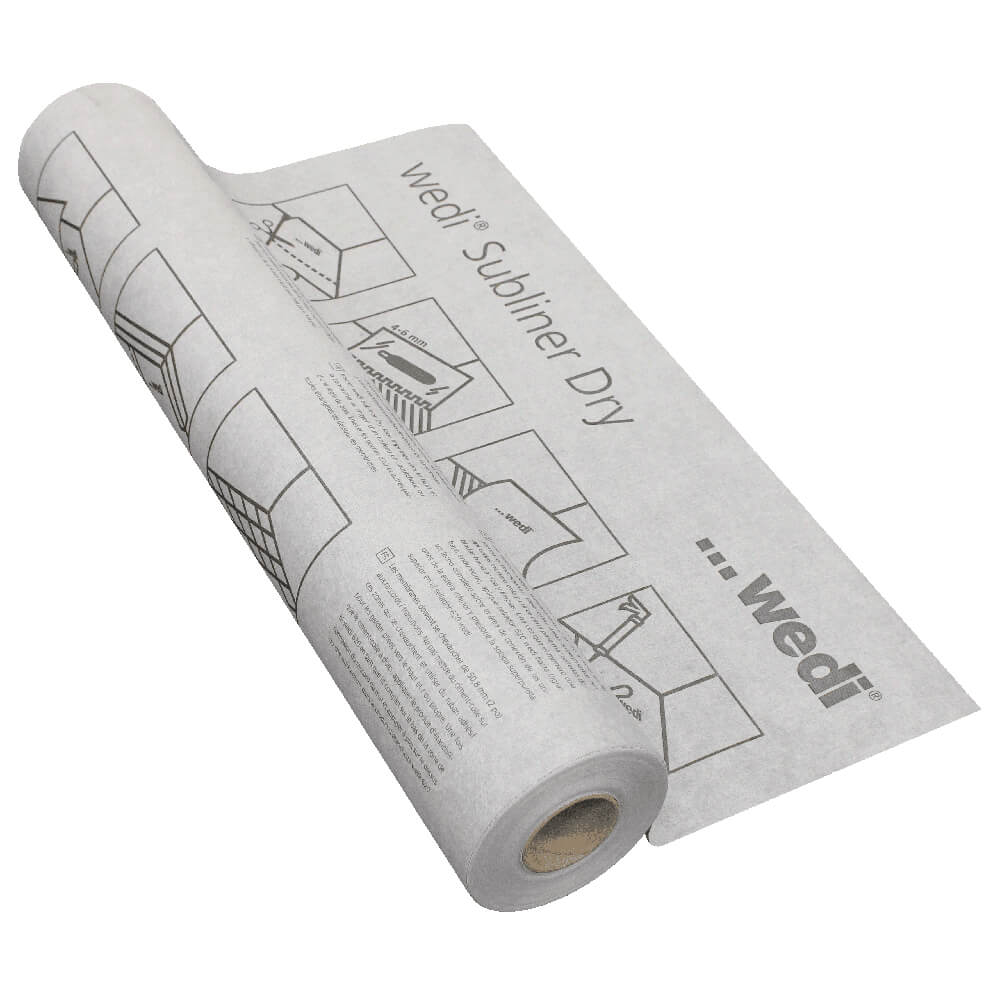
- Use in combination with Wedi Subliner Dry sheet waterproofing membrane or Wedi Building Panels applied at least 2-1/2 ft. out into the bathroom floor area for a waterproof transition.
- When used with a Wedi Curbless Shower Recess Installation Kit, you can easily and safely recess single layer 3/4 in. plywood subfloors in between 16 in. on-center floor joist deigns (solid joists or engineered I-joists)
-
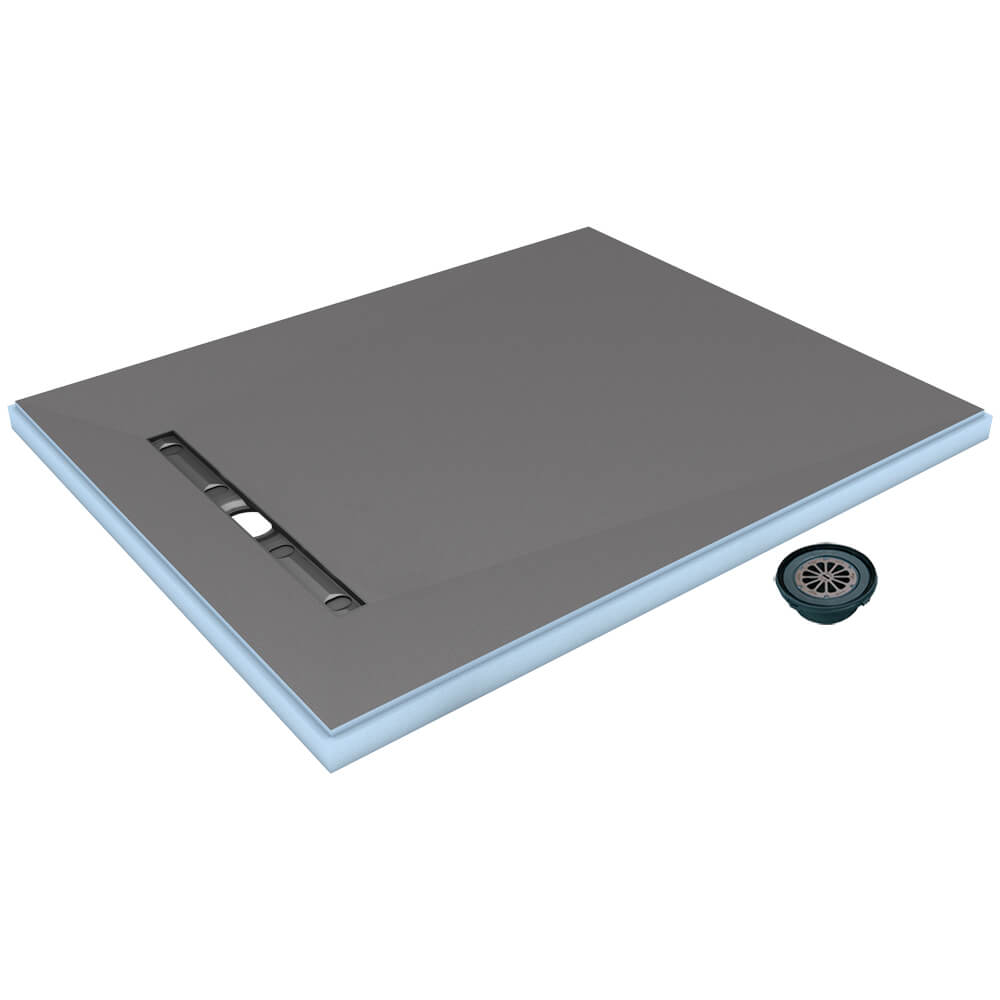
Wedi Fundo Riolito Shower Base with Linear Drain
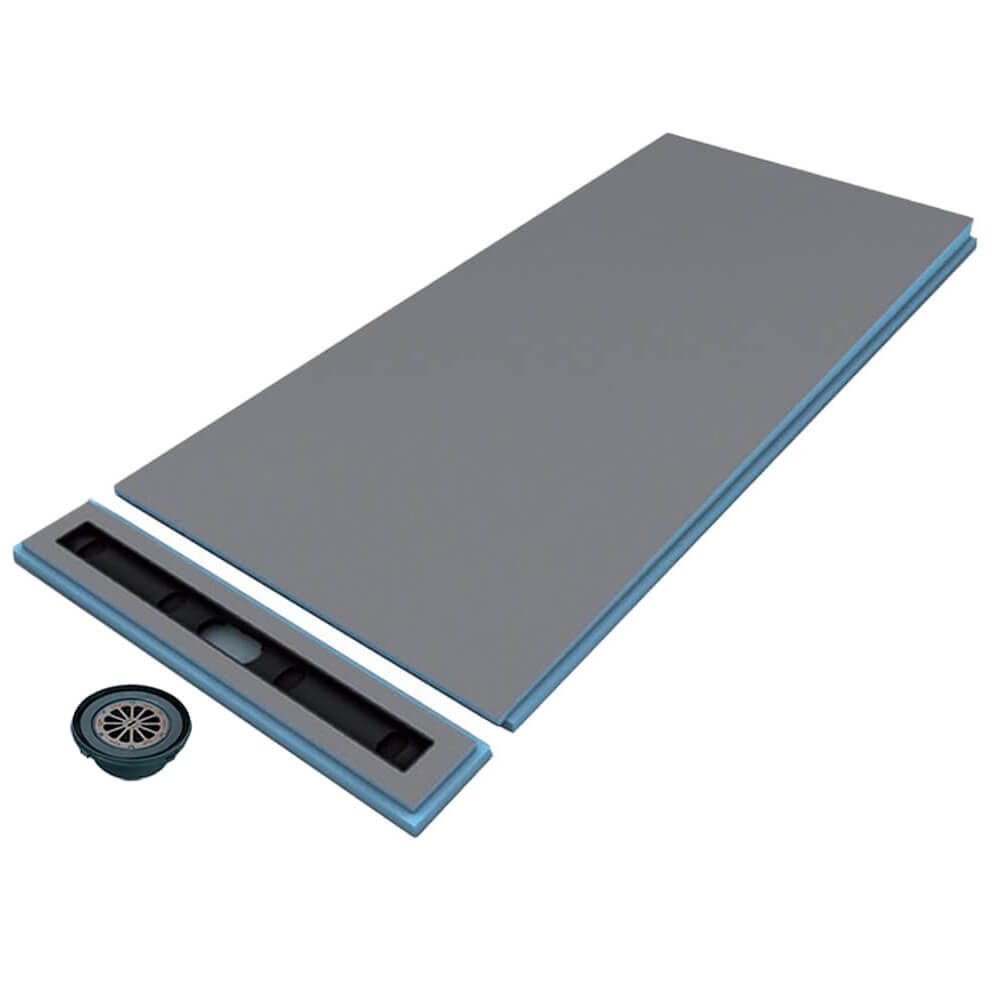
These pre-sloped and waterproof shower bases come with an integrated linear drain channel and a Wedi Fundo Click and Seal Drain Kit. The linear bases offer a 4-way slope, while the Wedi Linear Shower Module offers a 1-way slope extension slope.
Features:
- Linear Base: single-piece base featuring a 4-way slope design and level perimeter for safe recessing into a subfloor construction
- Linear Shower Module: requires two components: the linear shower module and extension module, featuring a one-way slope with close-to-wall drain placement
Here is how you select the right shower base size to fit the job in most cases:
Determine the distance between the center of the 2 in. pipe in the subfloor to all framed walls and where you plan to have the inside of a Wedi curb (as if it were another framed wall). Next, take note of the longest dimension of the two distances measured along each axis (east/west and north/south).
You will need to select a shower base that covers twice the length of the longest dimensions along each axis. This will ensure that the shower base will cover the entire shower area and, if needed, can be trimmed on-site to position the integrated Wedi drain over the 2 in. wastepipe in the subfloor.
This method of calculating the correct shower base works for square and rectangular spaces with a mostly-centered drain location. Where drains are very close to a wall, one of Wedi's Off-Center Drain Bases should be used, if possible. Refer to Wedi Technical Drawings to select the correct base that will cover your shower dimensions and properly align the integrated Wedi drain with the floor drain pipe.
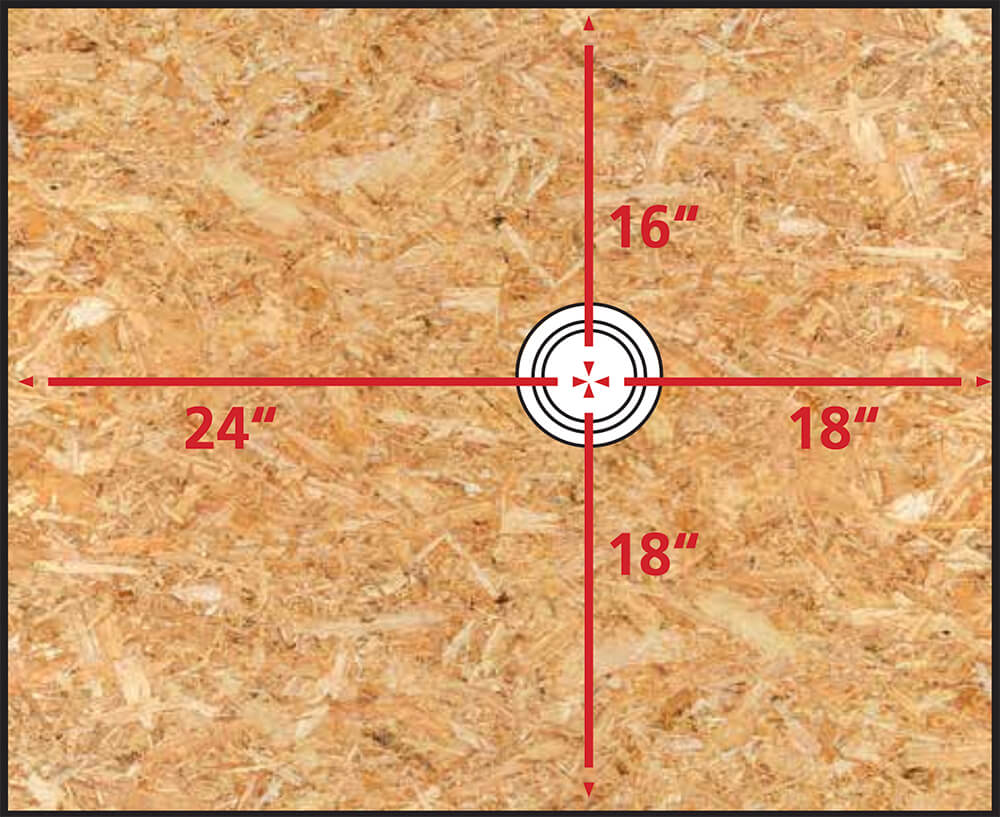
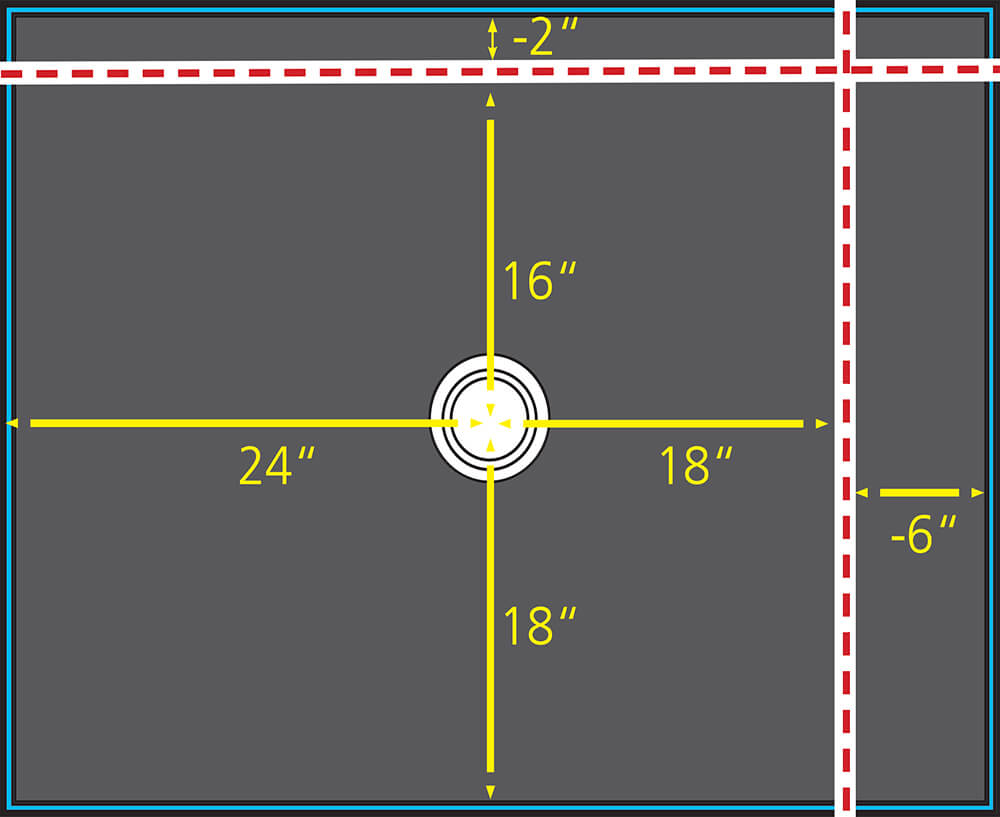
See an example here: picked a 36 in. x 48 in. Wedi Fundo Shower Base to fit best into a shower space with an offset drain, measured at 16 in. from the east/west wall and 18 in. from the north/south wall:
Offset drain location in
34 in. x 42 in. shower area

Wedi Fundo Shower Base
36 in. x 48 in. Base with Center Drain
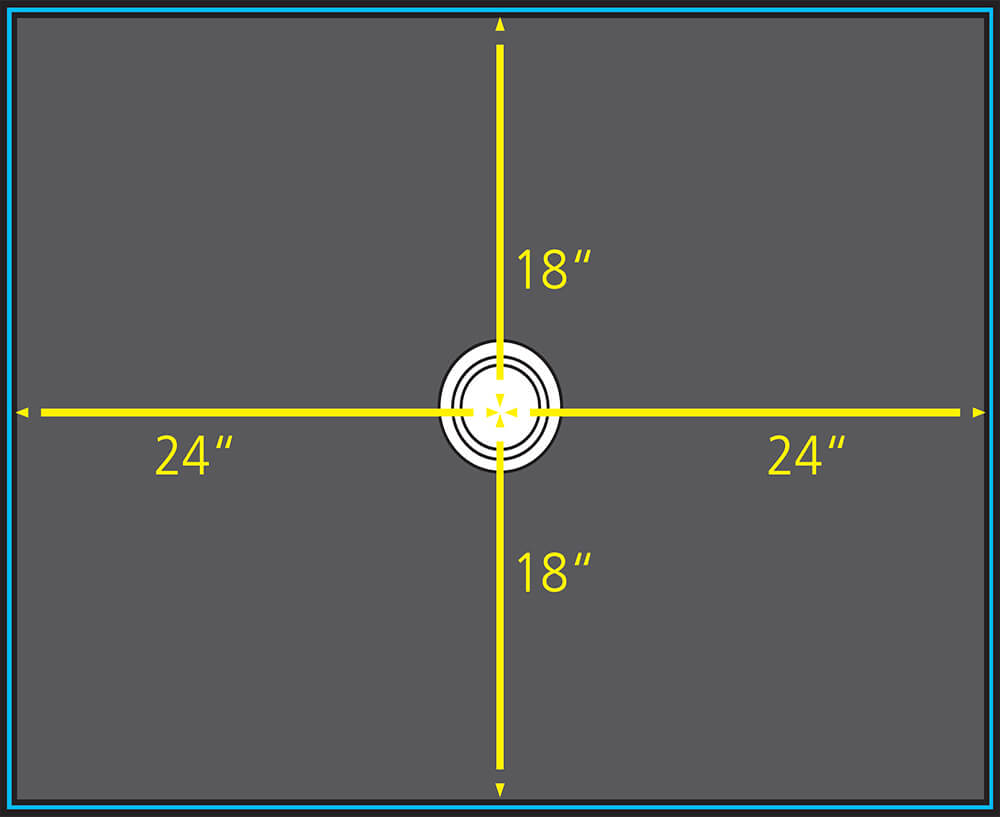

Cuts on 36 in. x 48 in. shower base
to fit shower space

Note: When modifying shower bases, always remember to recreate the prefabricated perimeter channel.
Please consider the individual perimeter thickness of Wedi Shower Bases so that floor recesses and floor transitions can be properly planned, especially when designing curbless showers.
If the Wedi standard shower base sizes do not fit your custom shower space, you can cut larger Wedi bases to a smaller-size base or you can choose from many of Wedi pre-sloped extension panels to make a smaller base larger. Cutting or extending can be done on one or all sides of a Wedi Shower Base. Cuts should not be made in areas within 4 in. of the drain flange in Fundo Shower Bases, or within 6 inches of drain reinforment discs (made from stainless steel and located on the underside of curbless shower bases. No cuts should be made in the area where channel drains are integrated into linear shower bases (inserts outlined on the underside of the linear base or module).
Step 2: Choose Building Panels
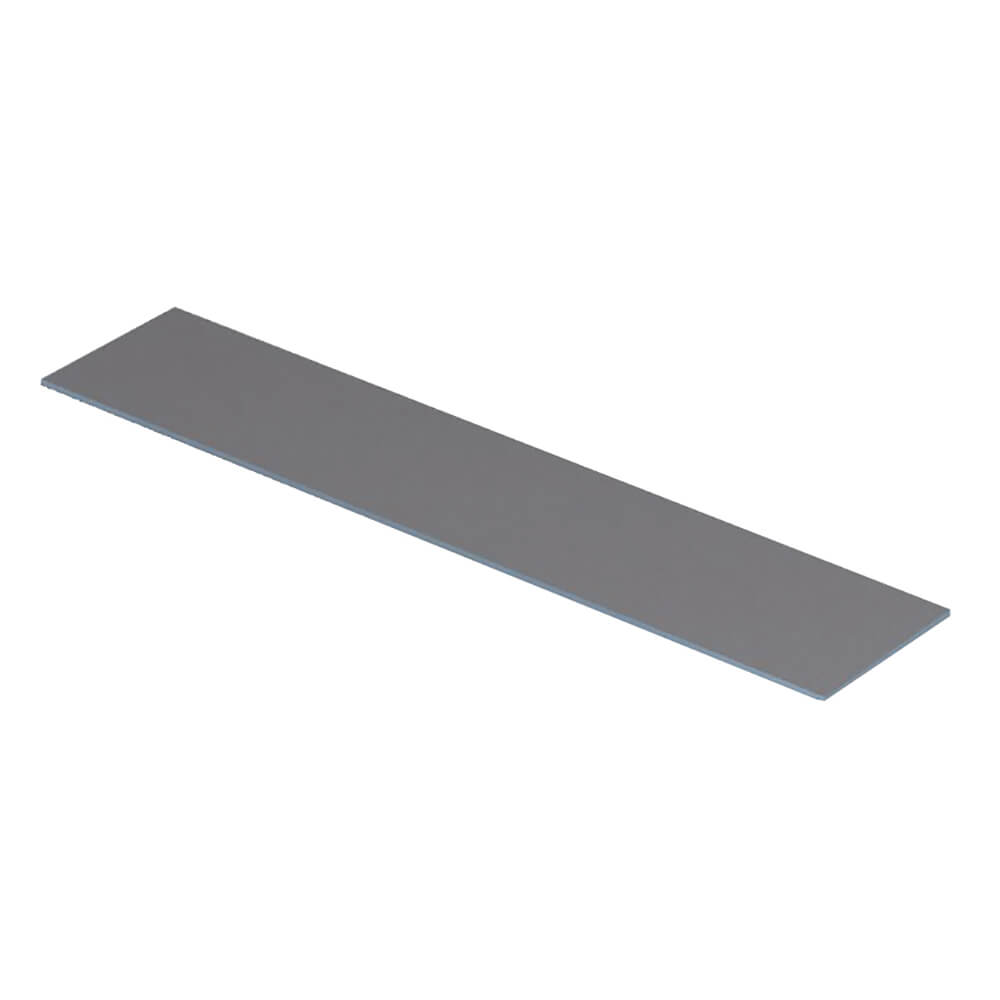
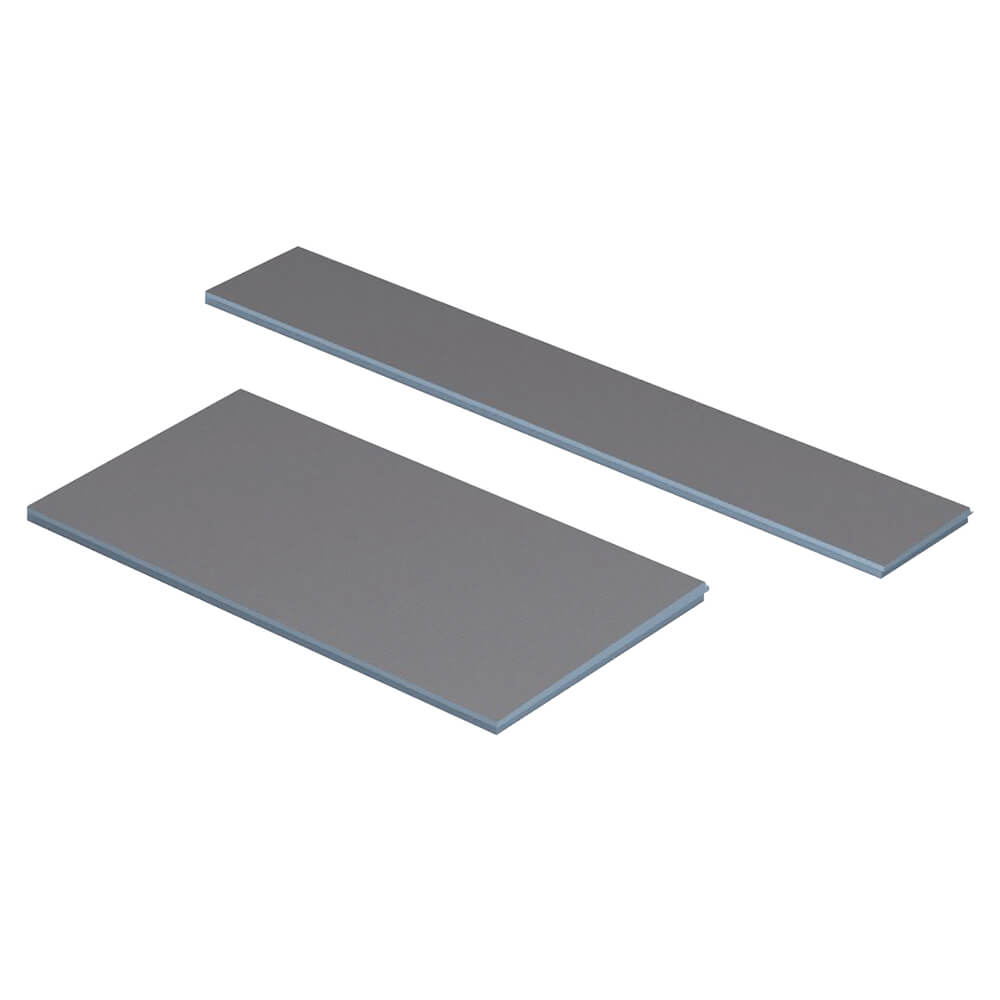
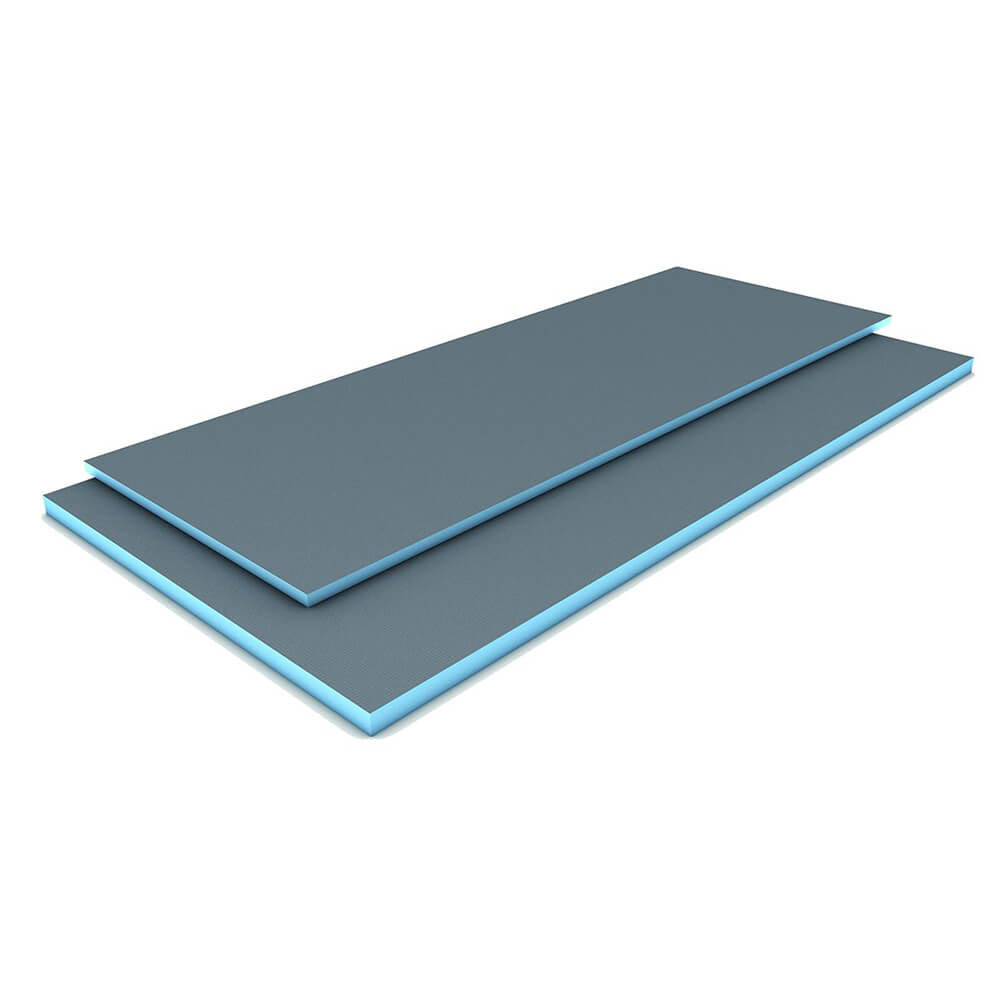
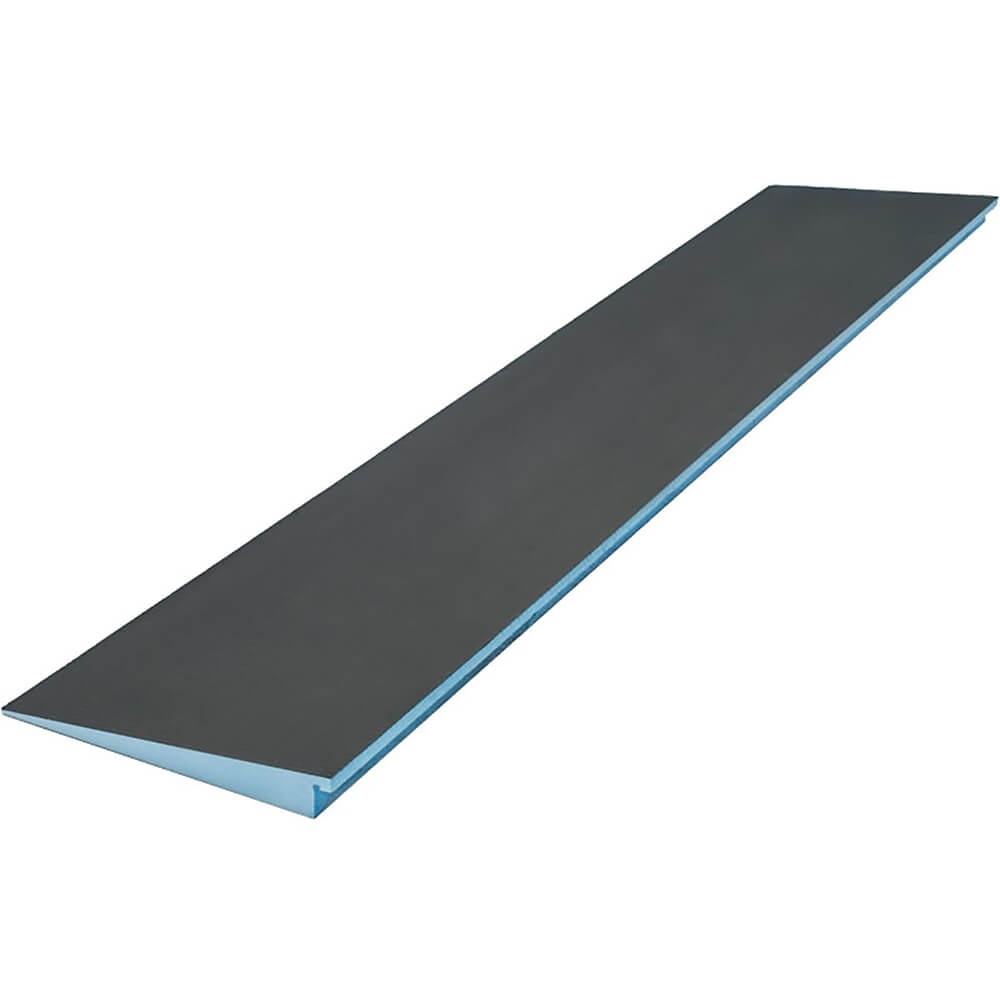
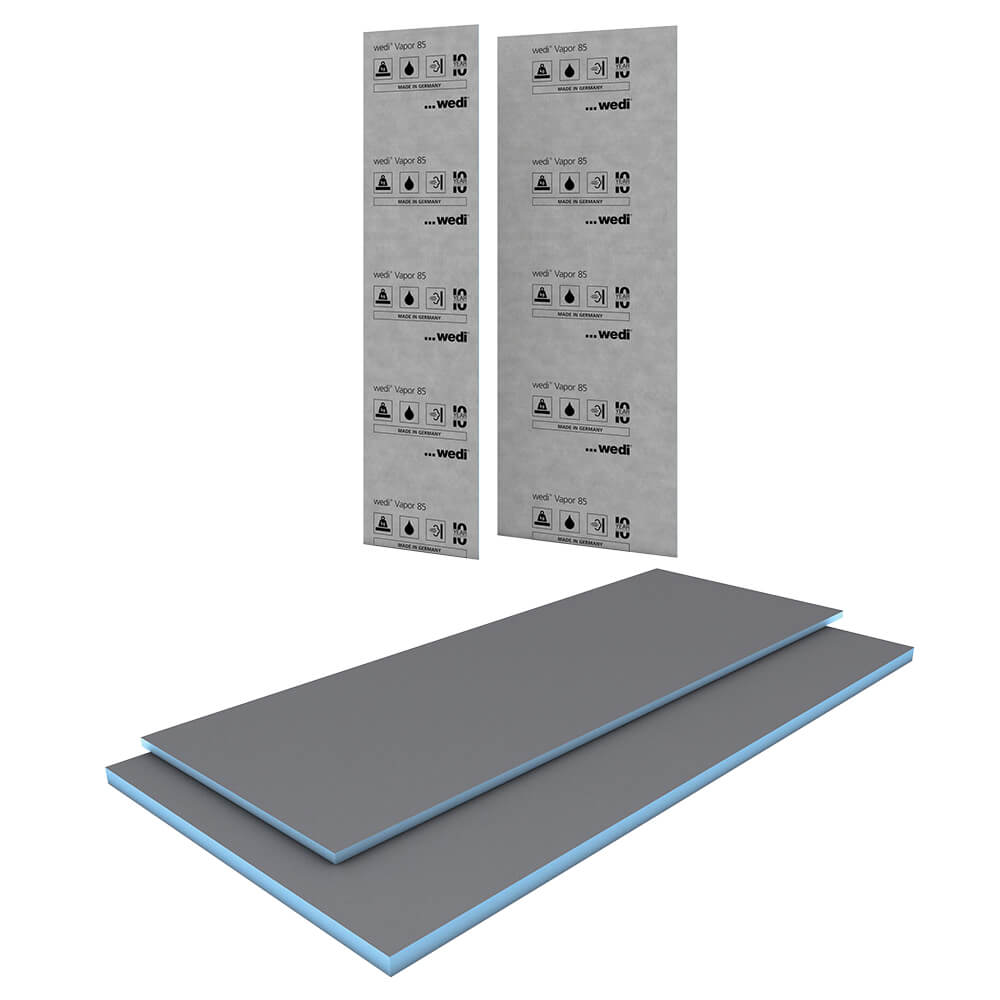
Wedi Building Panels are needed to build and waterproof the shower walls. The perfect waterproof tile backer board and substrate for nearly any wall, floor, or ceiling application in interior wet areas. A variety of sizes and thicknesses to accommodate different projects and applications.
When used over wood and concrete subfloors, a thermal break is created and offers insulation value. They are also used in kitchen backsplash and countertop installations, as well as when constructing bathroom seats and benches.
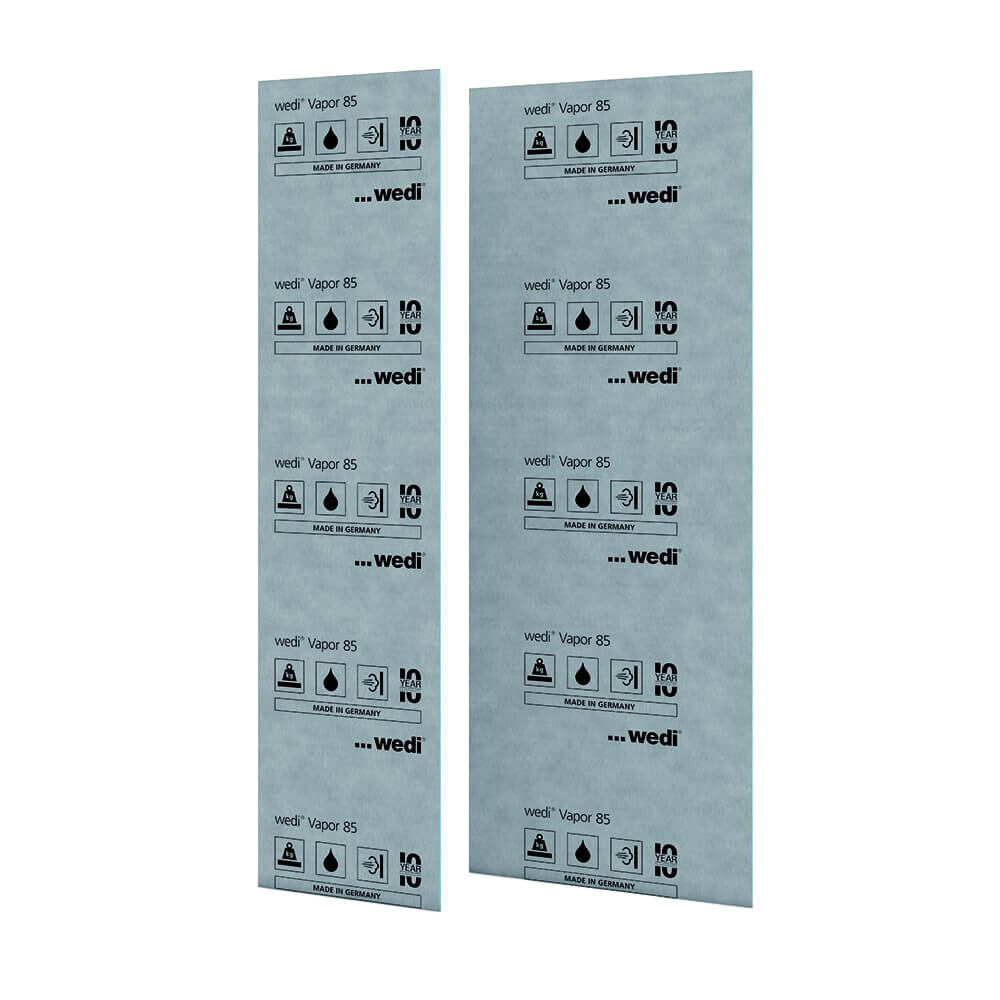
The Wedi Vapor 85 is a special Building Panel for use in steam rooms and steam showers.
Here is how to determine the size and quantity of Wedi Building Panels you will need for your shower:
First: You must calculate the total area of the shower walls. To do this, measure the area of each shower wall by multiplying the length of the wall by the height. The height of each wall will be determined based on how high you plan to install the tile. Next, add the calculated square footage of each wall together to determine the combined sum of all the shower walls. Account for about 15% extra square feet of building panel for any waste cuts by multiplying the combined area of all shower walls by 1.15.
Next: Divide the total area of the shower walls by the square foot area of the Wedi Building Panels you plan to use (eg: 4 x 5 ft. building panel = 20 square feet). A total shower wall area of 115 square feet divided by 20 square feet per building panel gives us a total of 5.75 building panels. Remember to always round up to the next whole building panel.
Tip: Choose the Wedi Building Panel sizes that will keep your installation process fast, efficient, and eliminate unnecessary seams and waste. For example: a shower wall that is 5 feet wide and 8 feet high can be covered with TWO of the 4 x 5 foot Wedi Building Panels, whereas that same wall would require THREE of the 3 x 5 foot building panels, resulting in an extra seam and wasted product.
Note: Wedi Building Panels must extend to the outside edge of the shower curb element for proper water-proofing, so be sure to account for the added dimensions of the shower curb to your shower side walls when determining the size of the building panels. For example, a 3 x 5 foot building panel is NOT a good option for a 36 in. shower wall, where the curb extends beyond the 36 in. shower base, because you will have to install the panel horizontally to reach the outside edge of the curb, resulting in unnecessary waste.
In steam shower projects, you will also need enough Wedi Vapor 85 building panels to cover the ceiling
Step 3: Choose and add Prefabricated Modules and Design Upgrades
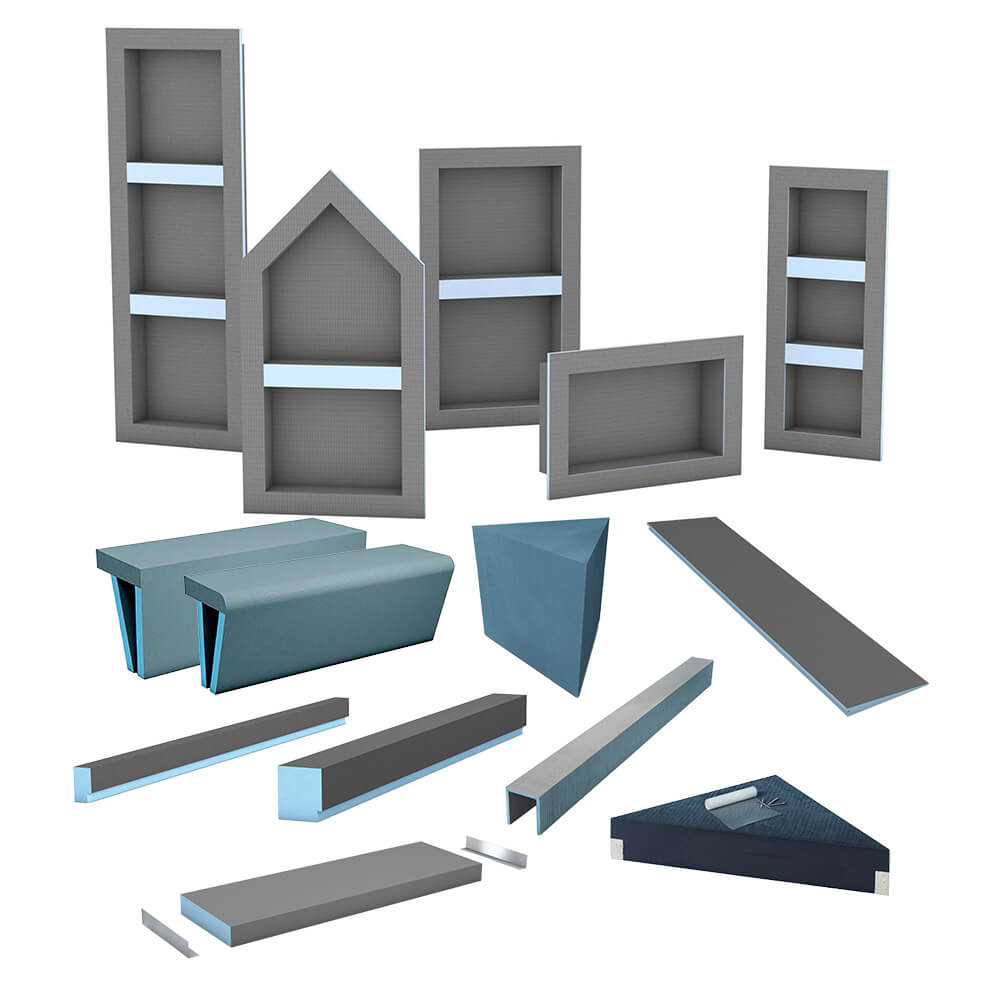
Wedi Prefabricated Modules open up a whole new world of design possibilities for showers, wet areas, and baths. These are optional design upgrades that offer functional value to showers while integrating into the waterproof system installation.
-
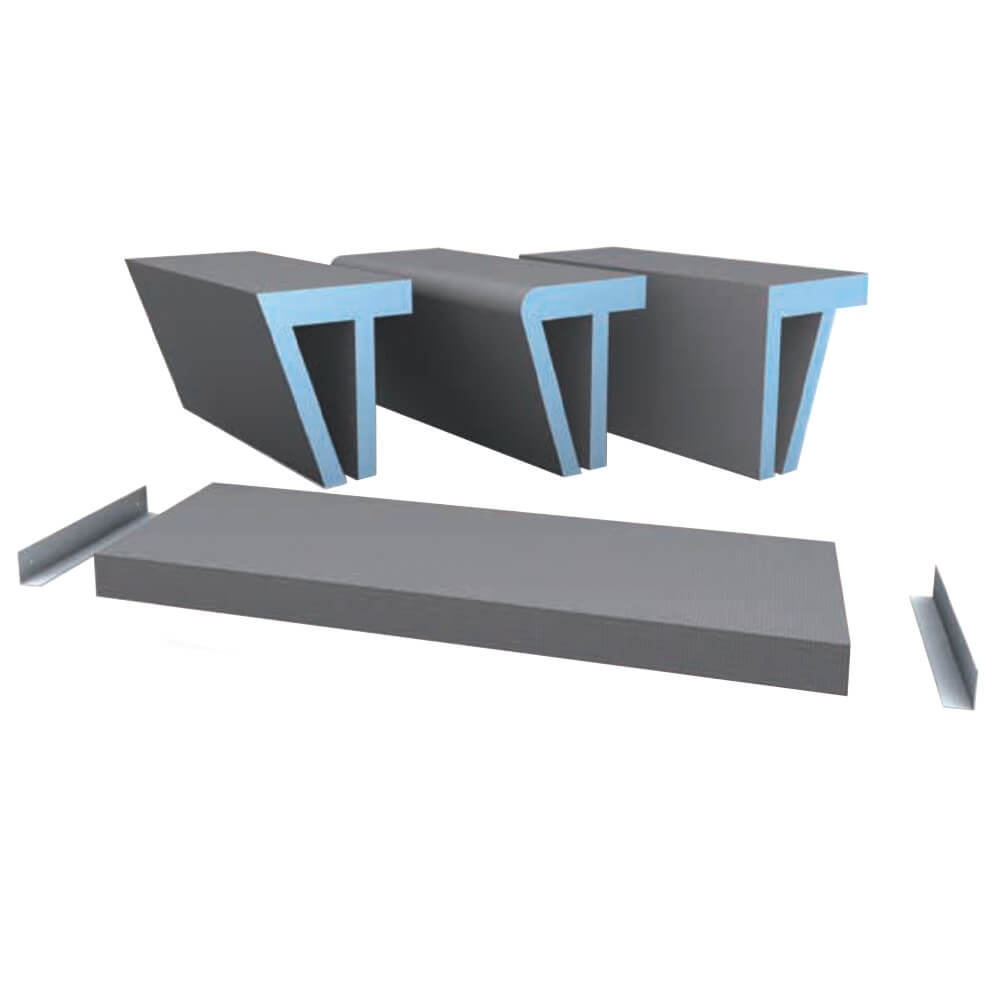
Wedi Shower Seats and Benches
Seating options inside a shower design can add both value and comfort. Choose a seat or bench that best compliments your shower design.
Features:
- Prefabricated, slightly-sloped bench options
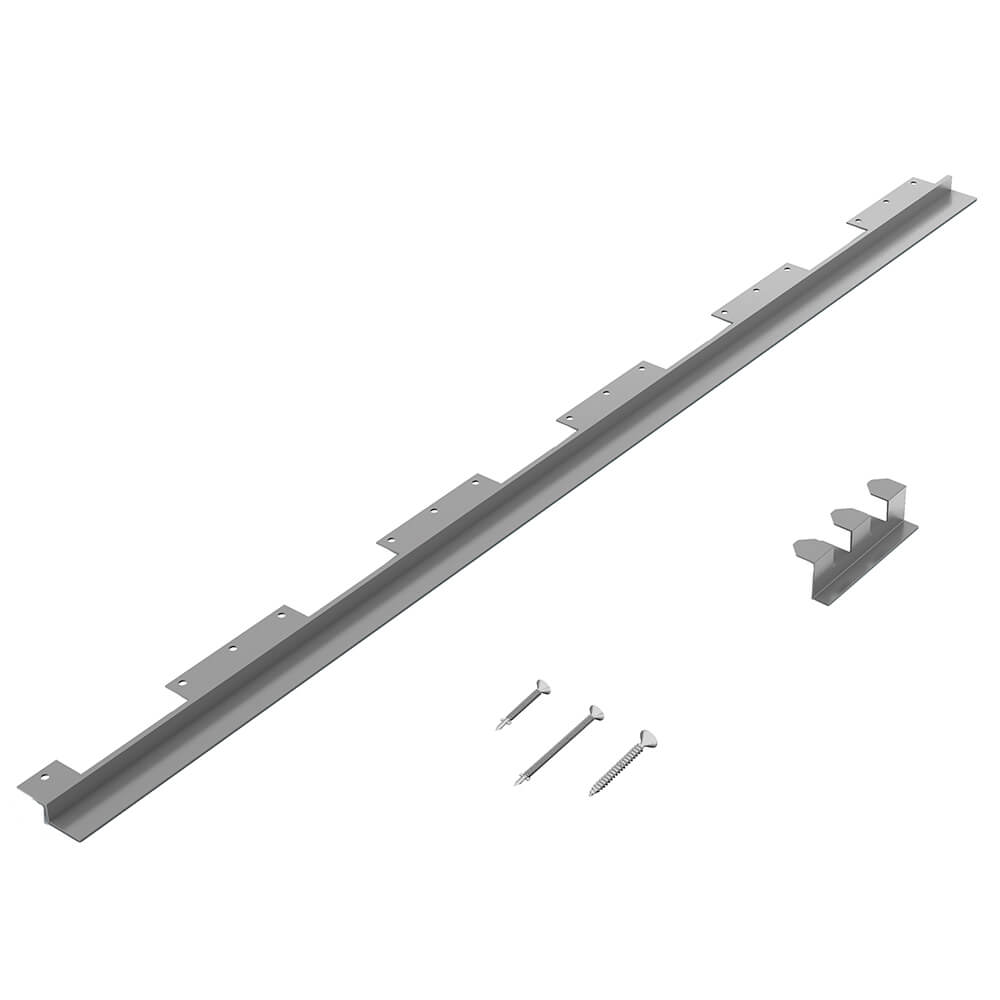
- Suspended seat solutions with mounting brackets for existing framing
- If our prefabricated options don’t fit your design, you can create a custom piece using 1-1/2 in. or 2 in. building panels
-
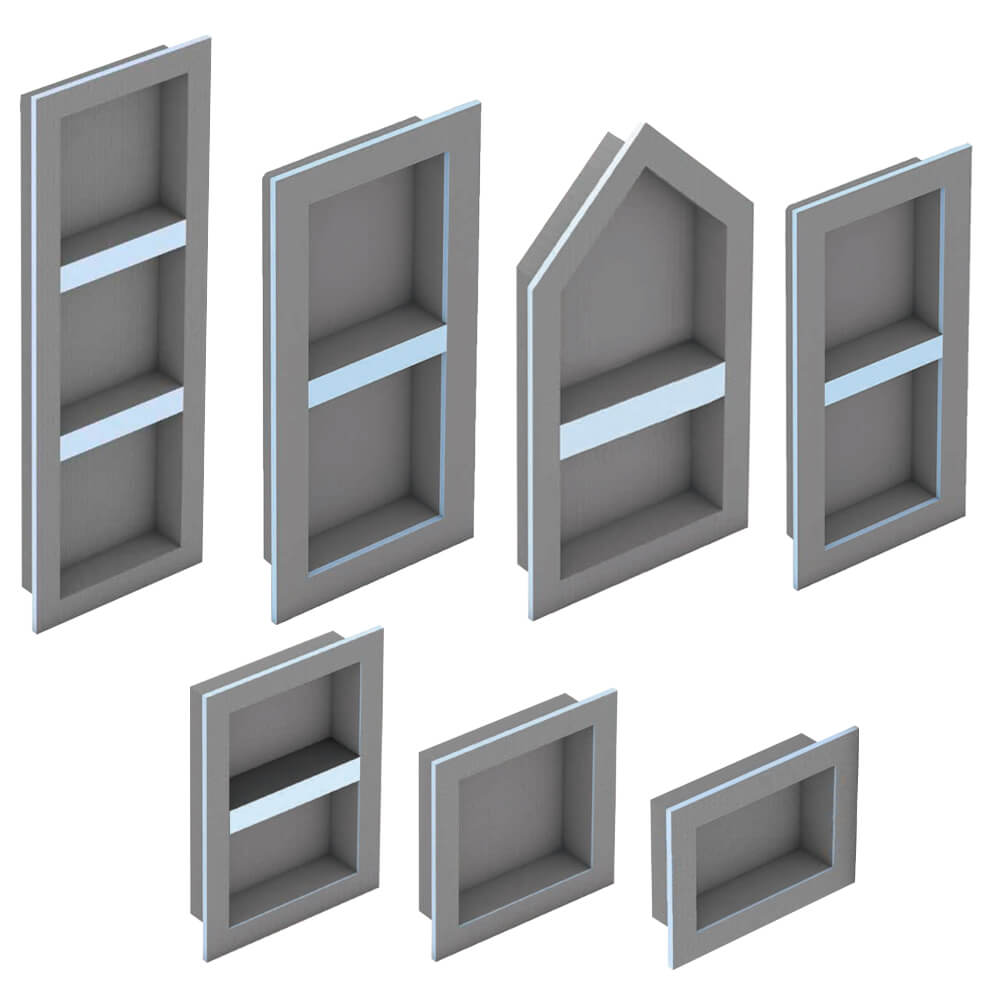
Wedi Shower Niches
The perfect fit for all shower necessities like shampoo bottles in all sizes. Wedi Shower Niches are made from the waterproof Wedi Building Panel for absolute strength and integrate smoothly into every Wedi shower installation.
Features:
- Can be trimmed or extended if needed
- Further customization can be achieved by utilizing
- Wedi Shower Niches Shelf options in place of the adjustable shelves that are included with our larger niche options. (Shelf information available in Step 5)
-
Wedi Shower Curbs and Shower Ramp
Use Wedi Shower Curbs for shower entry designs where safe and sound transitions are required.
Features:
- Shower Curbs can hold the weight of any common glass door
- Shower Curb AT (anchor track) models allow for the installation of door channel profiles or fittings with fasteners where needed
- For ADA-compliant entry designs without a recessed shower floor space use the Wedi ADA ramp to create safe access up into the shower floor.
Step 4: Choose Installation Accessories
Wedi Installation Accessories & tools are needed to seal, connect, and finish the installation of the waterproof shower system. Whether it is a traditional shower or a steam shower, Wedi offers all the accessories needed to complete the installation with safety and ease.
-
Wedi Joint Sealant and Wedi 620 Sealant
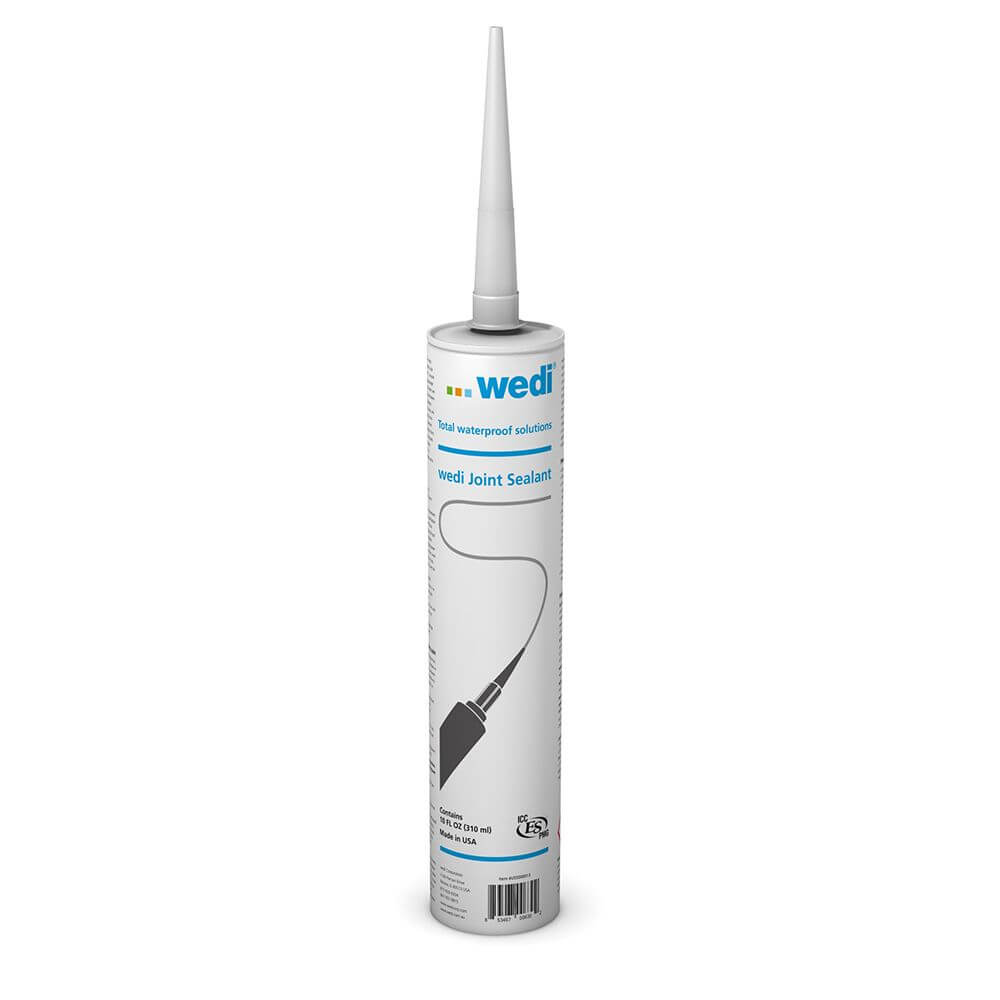
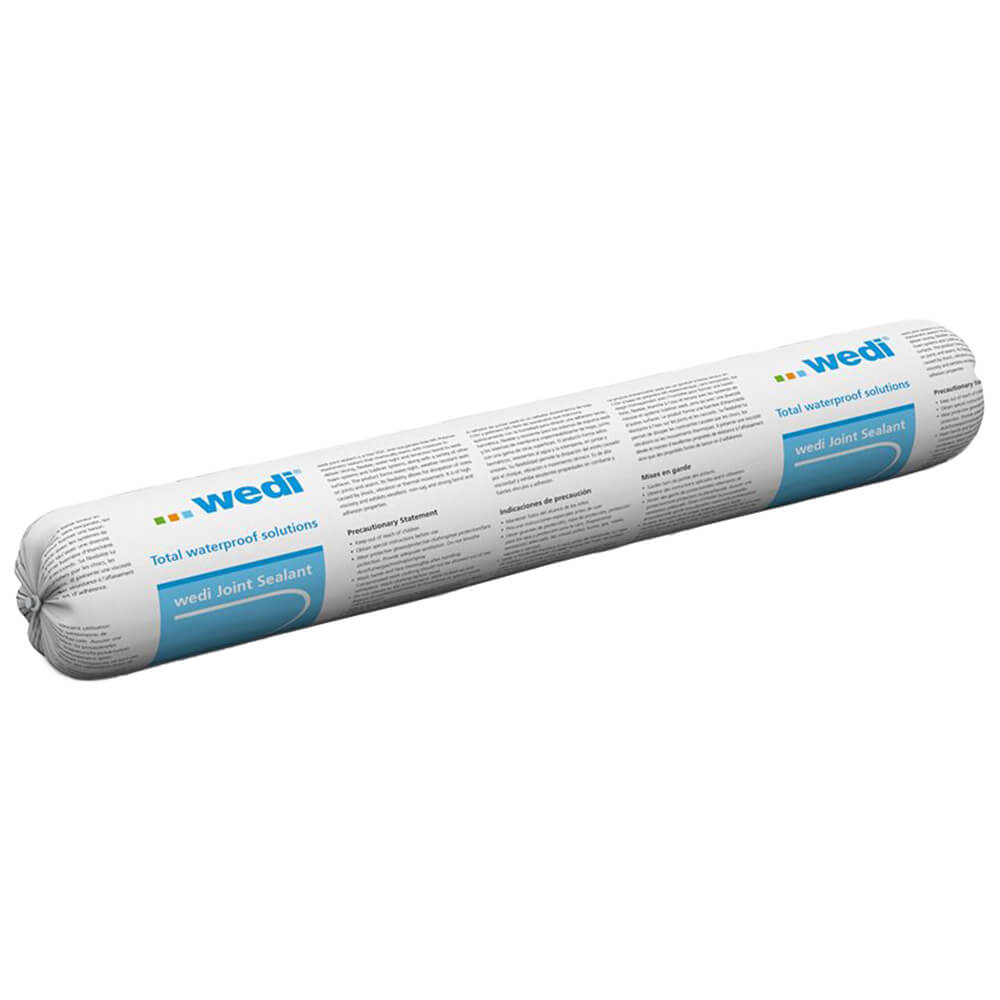
Wedi Joint Sealant - used in conventional shower and tub designs to waterproof, connect, and reinforce seams and fastener points.
- Packaged in 10.5 oz. tubes or 20 oz. sausages
- Average shower installation uses approximately 1.2 oz. of Wedi Joint Sealant per square foot of wall panel surface (includes a shower base and curb installation)
Example: A 3 x 5 ft. shower with three walls 8-foot tall and one 5-foot curb may require up to ten 10.5 oz. cartridges of Wedi Joint Sealant, or five 20 oz. Wedi Joint Sealant sausages - Prefabricated modules or design upgrades may require additional Wedi Joint Sealant: shower niches - one additional tubes, seats - two additional tubes, benches - three additional tubes
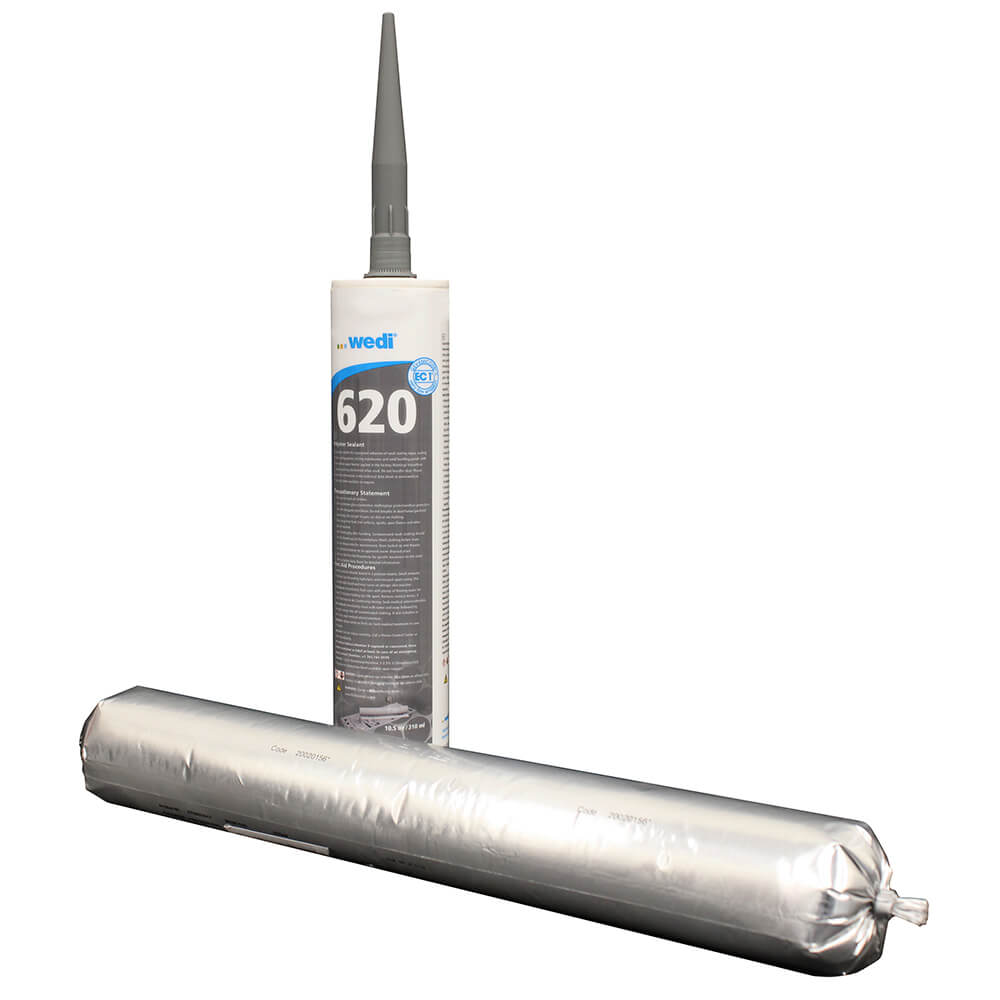
Wedi 620 Sealant - Used in steam showers or steam rooms to waterproof, vaporproof and reinforce connections, seams, and fastener points. Used in combination with Wedi Subliner Dry sheet membranes and sealing tapes.
- Packaged in 10.5 oz. tubes or 20 oz. sausages
- Average steam shower installation uses 2.5 oz. of Wedi Sealant 620 for each one linear foot of taped/overlapped seams in assembly (includes fastener points in board area)
Example: A 3 x 6 ft. steam shower with walls 8-foot tall, a ceiling, and two benches can be water/vaporproofed using nine Wedi Vapor 85 Panels. This creates approximately 90 linear feet of seams in the assembly to be taped, requiring 225 oz. of Wedi Sealant 620 (21 cartridges or 12 sausages)
-
Wedi Subliner Dry Waterproofing Sheet Membranes and Tapes
Wedi Subliner Dry - Used to aid a waterproof and vaporproof transition between floor and curbless shower, to vaporproof over existing walls in steam rooms, or to waterproof over existing substrates in general wet areas prior to tiling.
- Average curbless shower installation uses two rolls of 16 ft. long Wedi Subliner mat
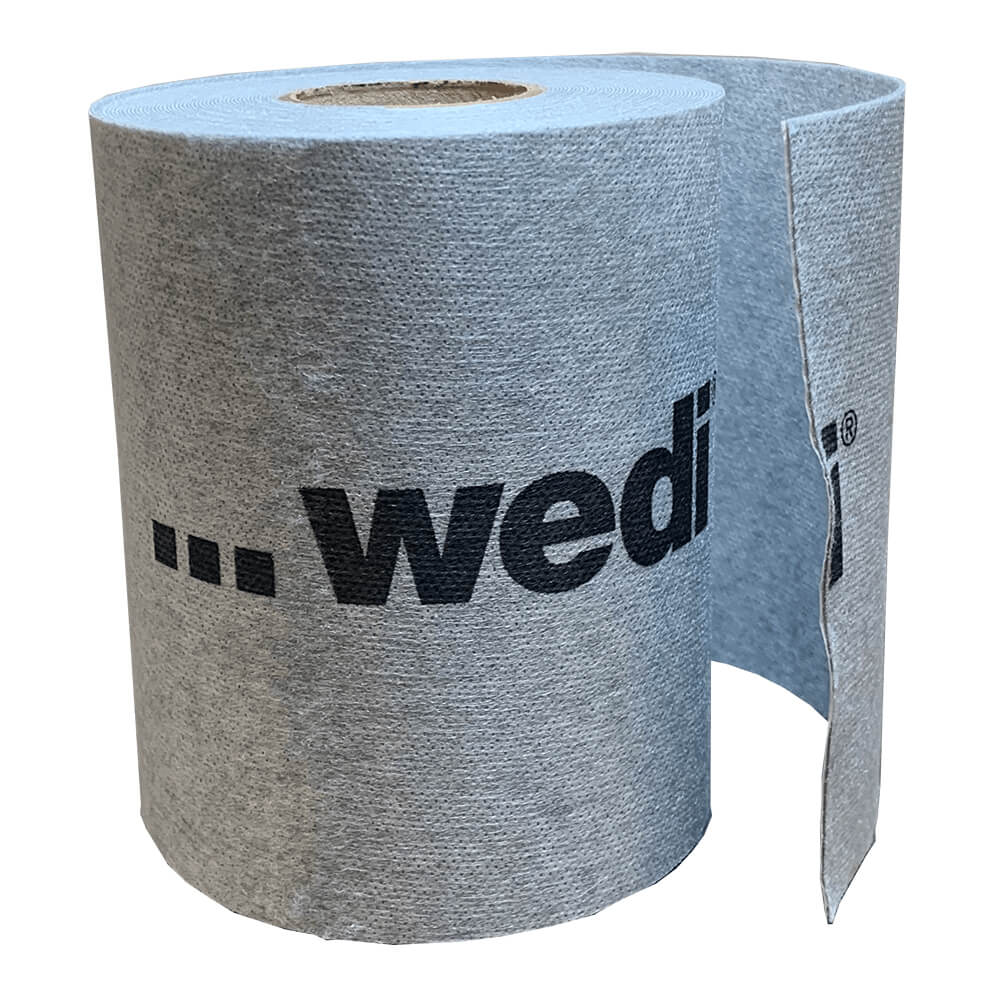
Wedi Subliner Dry Sealing Tape - Used to waterproof, vaporproof, and secure transition seams in steam applications. Fleece laminated.
- Average 3 ft. x 6 ft. foot steam shower with 4 walls, ceiling and 2 benches uses three rolls of wedi sealing tape
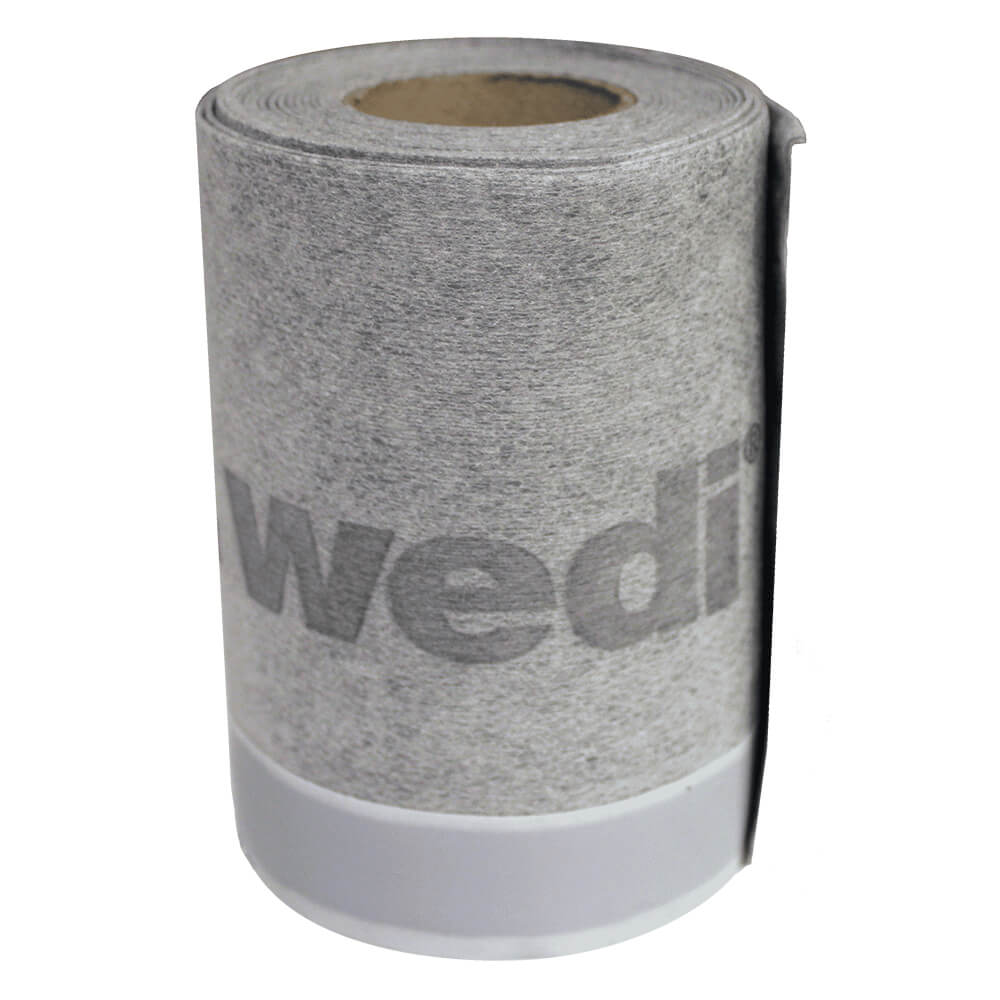
Wedi Subliner Dry Tub Tape - Used to create a waterproof back-up to a tub’s traditional surround wall backers when no tub flange or only partial flanges are built into the tub.
- Packaged in a 5 in. wide x 12 ft. long roll with a self-adhesive strip to adhere to a smooth tub surface and is sealed against framed blocking using Wedi Joint Sealant (serves as a back up for otherwise-vulnerable sealed joints between a backer board and a prefabricated tub surface when no flanges secure waterproofing)
- Average tub installation uses one roll of Wedi Tub Sealing Tape
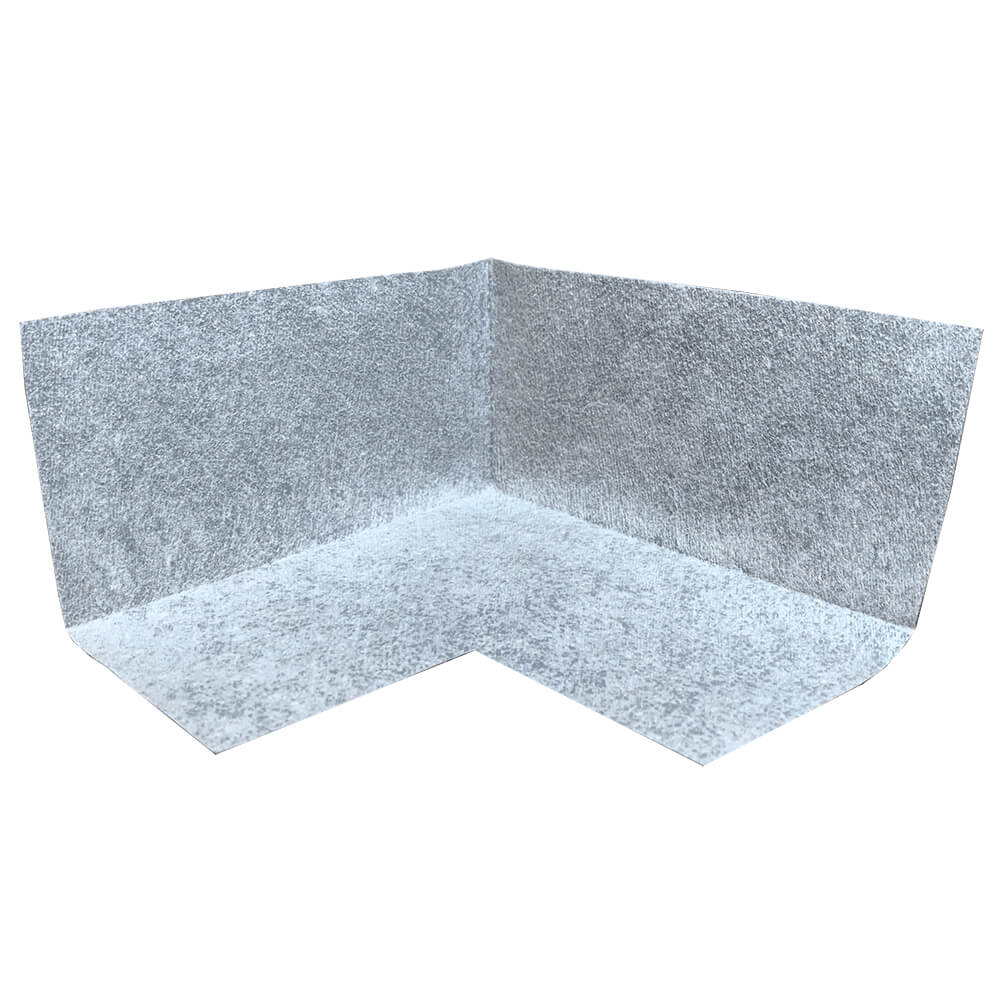
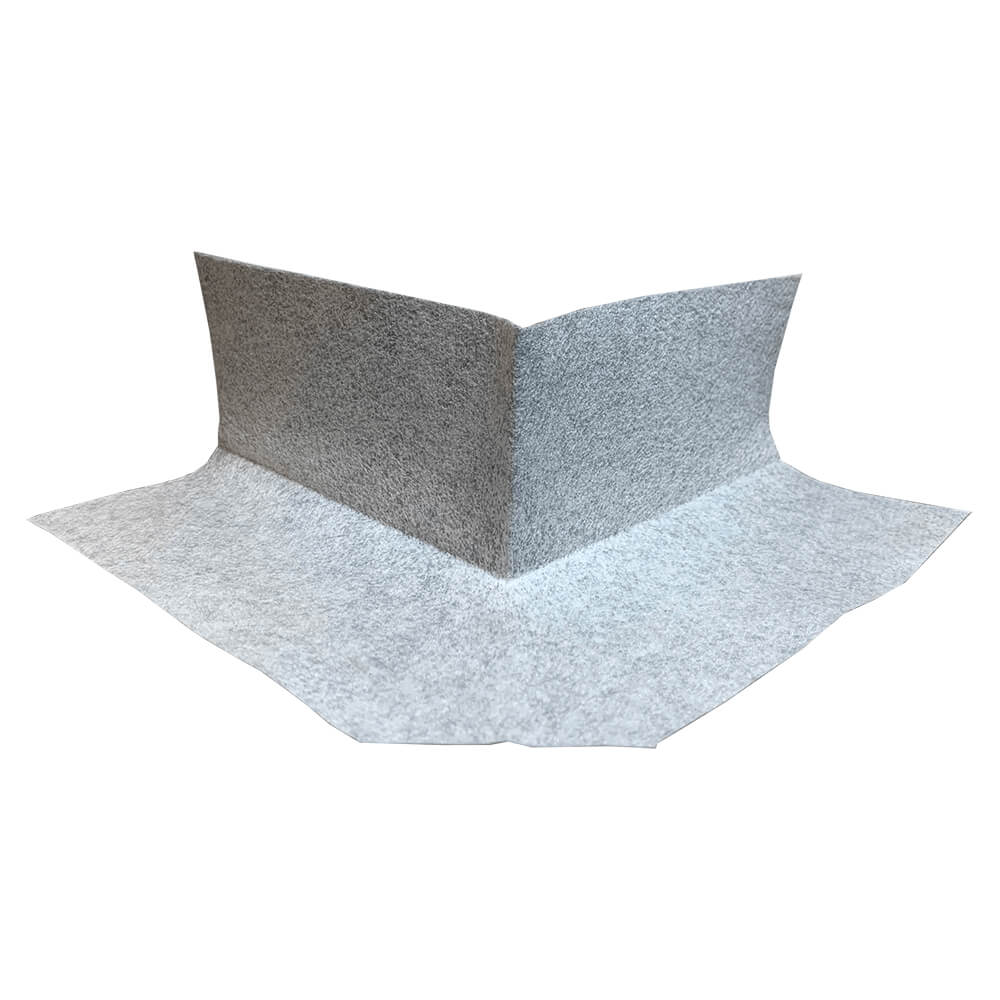
Wedi Subliner Dry Inside and Outside Corners - Used to aid waterproof and vaporproof transition between shower base and any corners within 36 inches of the shower on the outside of wedi shower bases in the general bathroom area or in steam shower applications with Wedi Vapor 85.
- Average curbless shower installation may use two Wedi Subliner Dry Outside Corners
- Average steam shower installation may use six-to-eight Wedi Subliner Dry Inside Corners and six-to-eight Wedi Subliner Dry Outside Corners
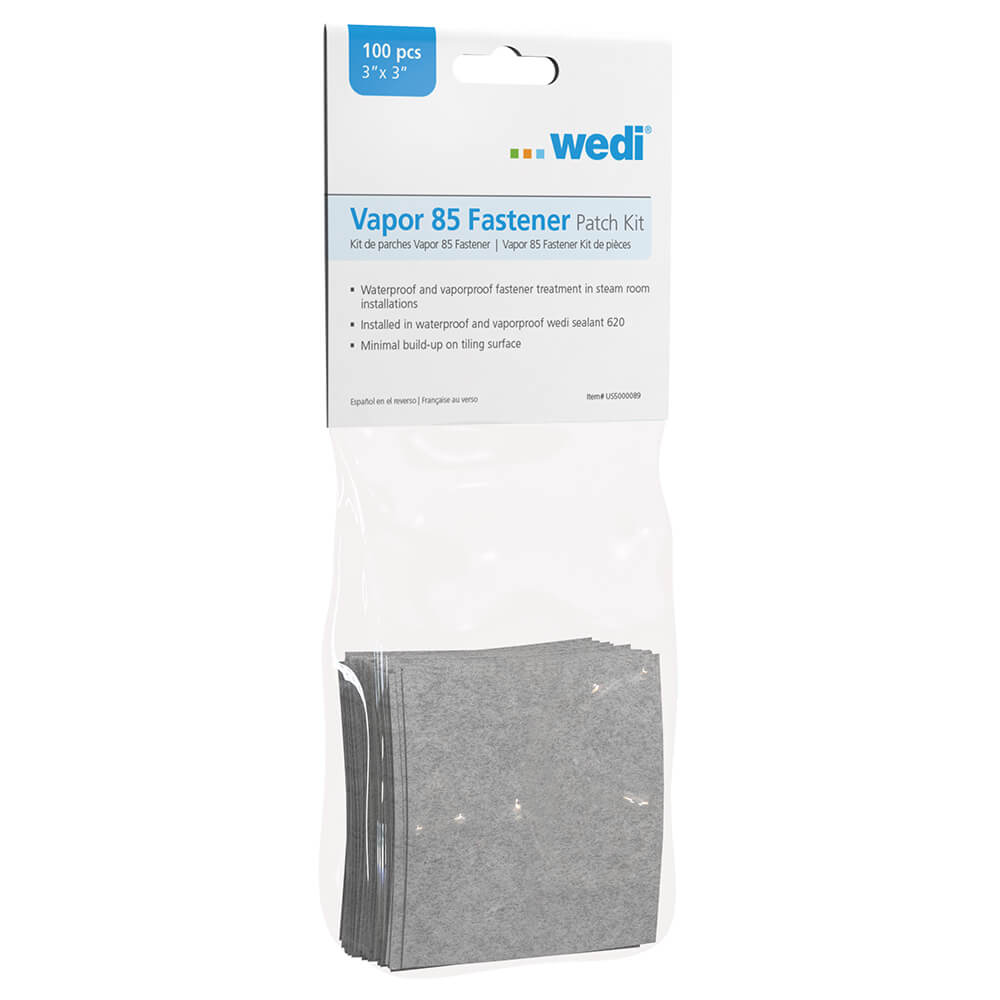
Vapor 85 Fastener Patches - Used to waterproof and vaporproof fastener points in steam shower installations.
- Applied with Wedi Sealant 620
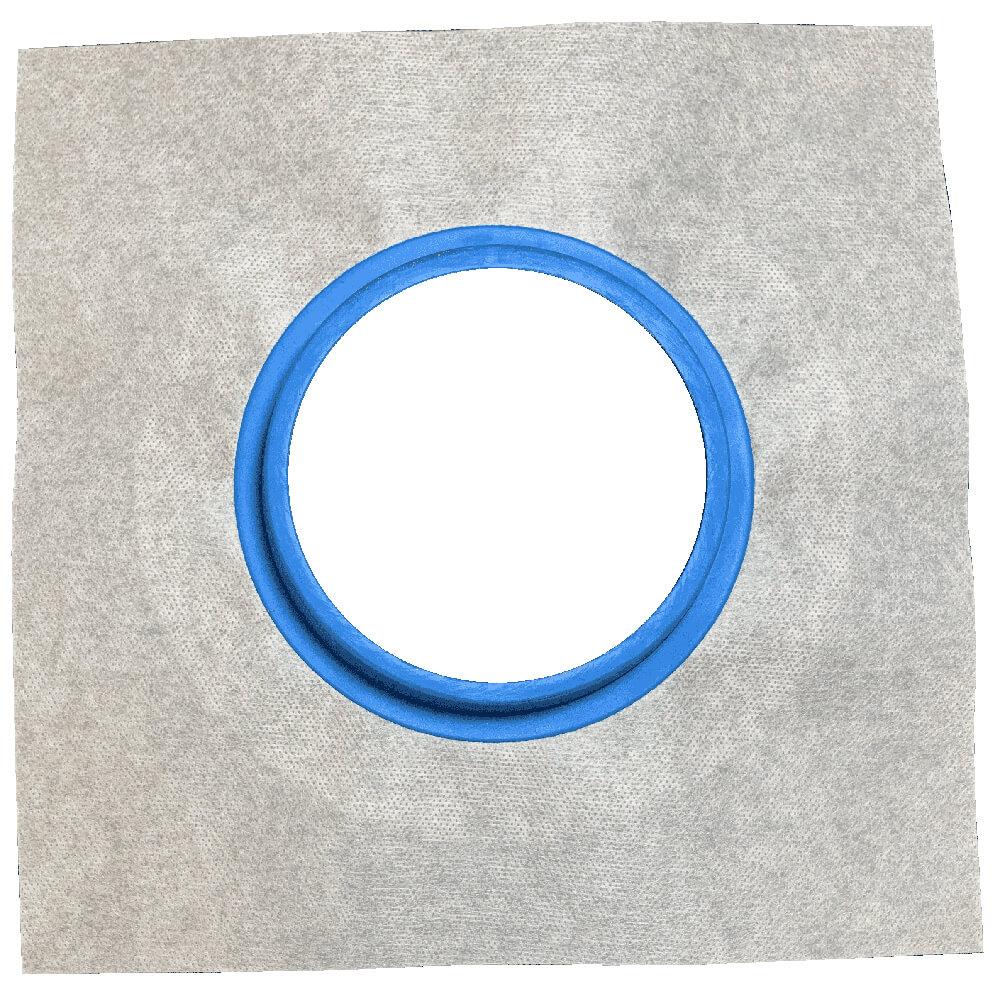
Wedi Sealing Collars - Used to aid waterproof transition around shower pipe or fixture protrusions.
- Average shower or steam room installation uses one Wedi Subliner Dry Pipe Seal per pipe protrusion and one Wedi Subliner Dry Mixing Valve Seal per mixing valve
Note: Due to many design variants of mixing valves used in bathroom designs, the Wedi Subliner Dry Mixing Valve Seal may have to be modified to fit the installation. This can be done by cutting its fleece sheet to open up the diameter of its opening for larger mixing valves. The collar functions to divert moisture moving through the thinset layer behind a wall tile. The moisture in a wall assembly mostly moves downward and any cuts in the collar around the top half of the mixing valve should be avoided. Be sure to place with its correct side facing the framing - the side with the 1/2 in. long protruding rubber.
-
Wedi Fastener Systems and Tools for Wedi installations
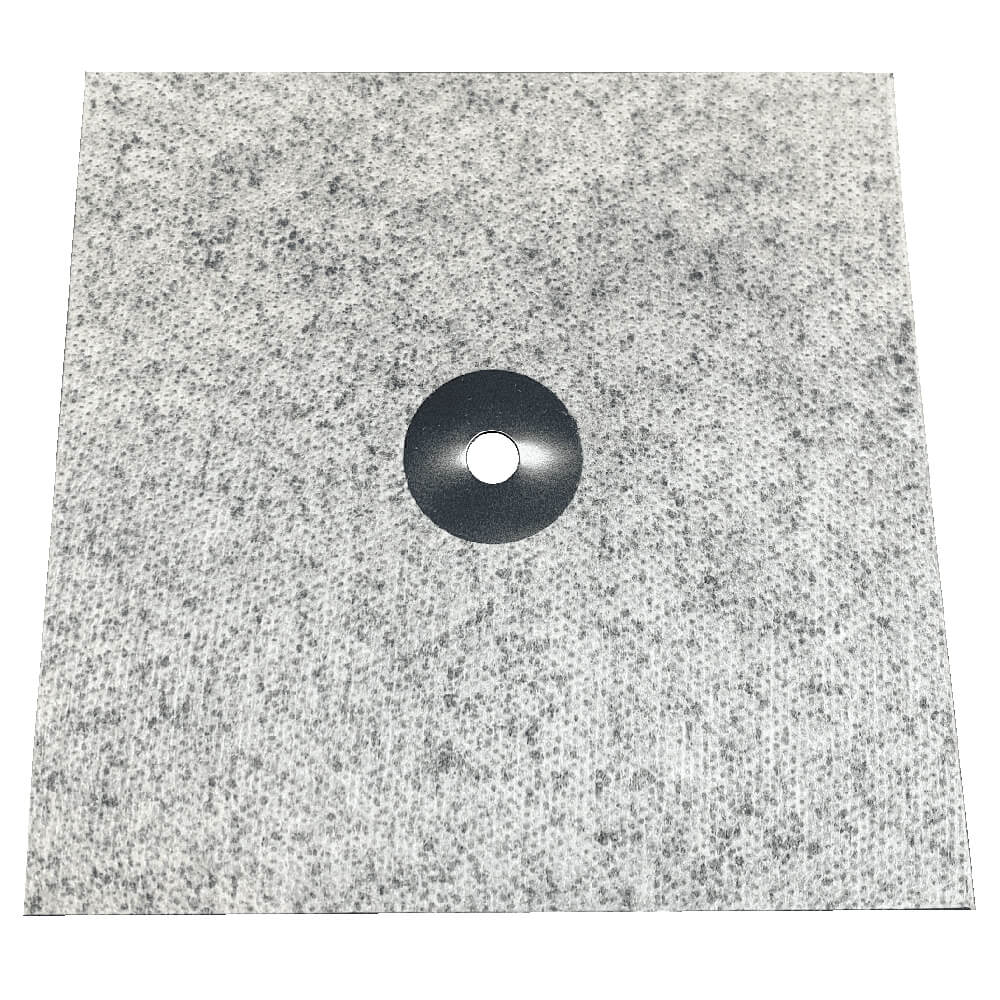
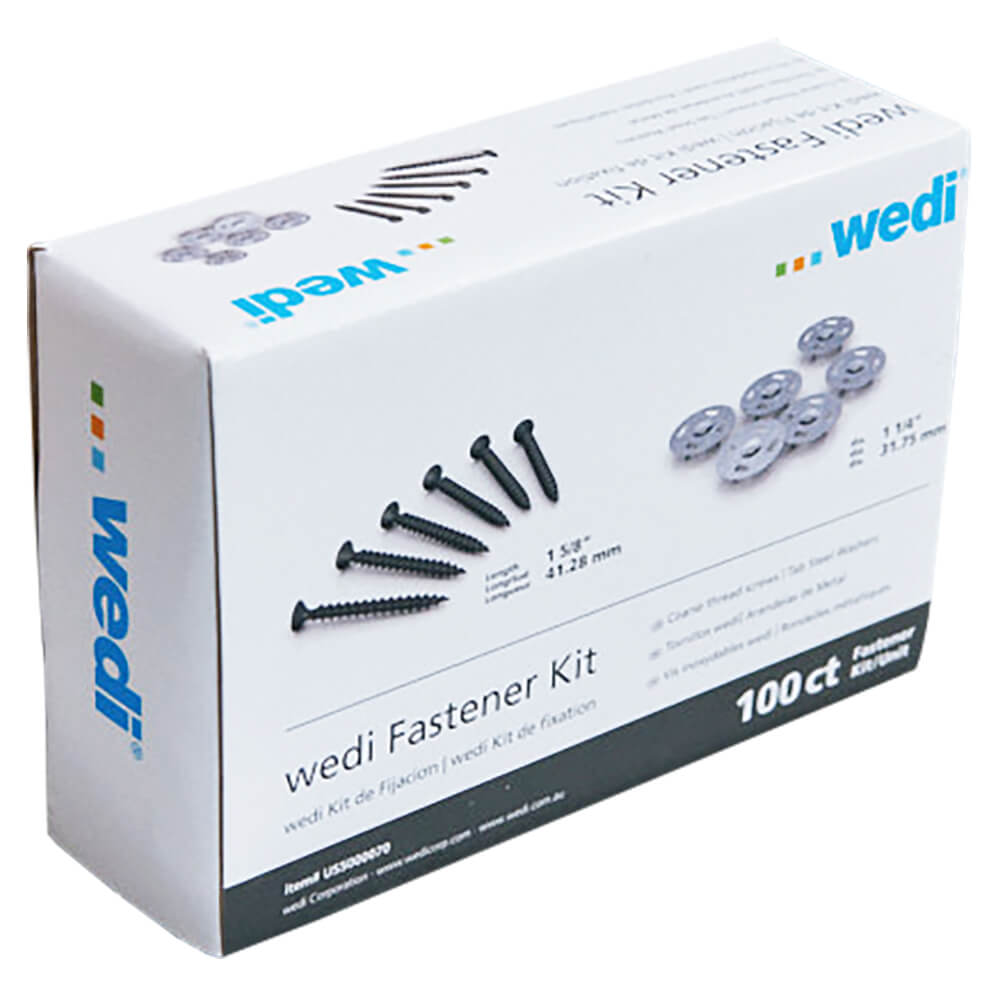
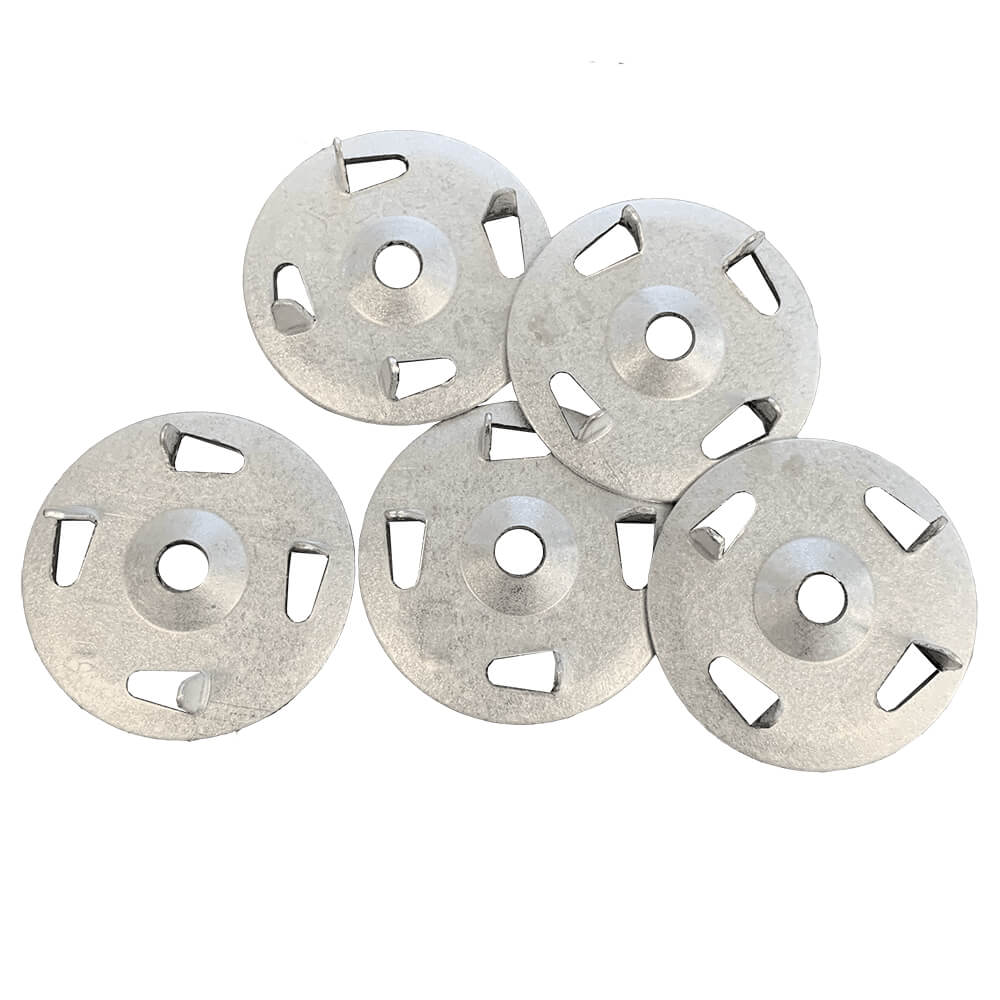
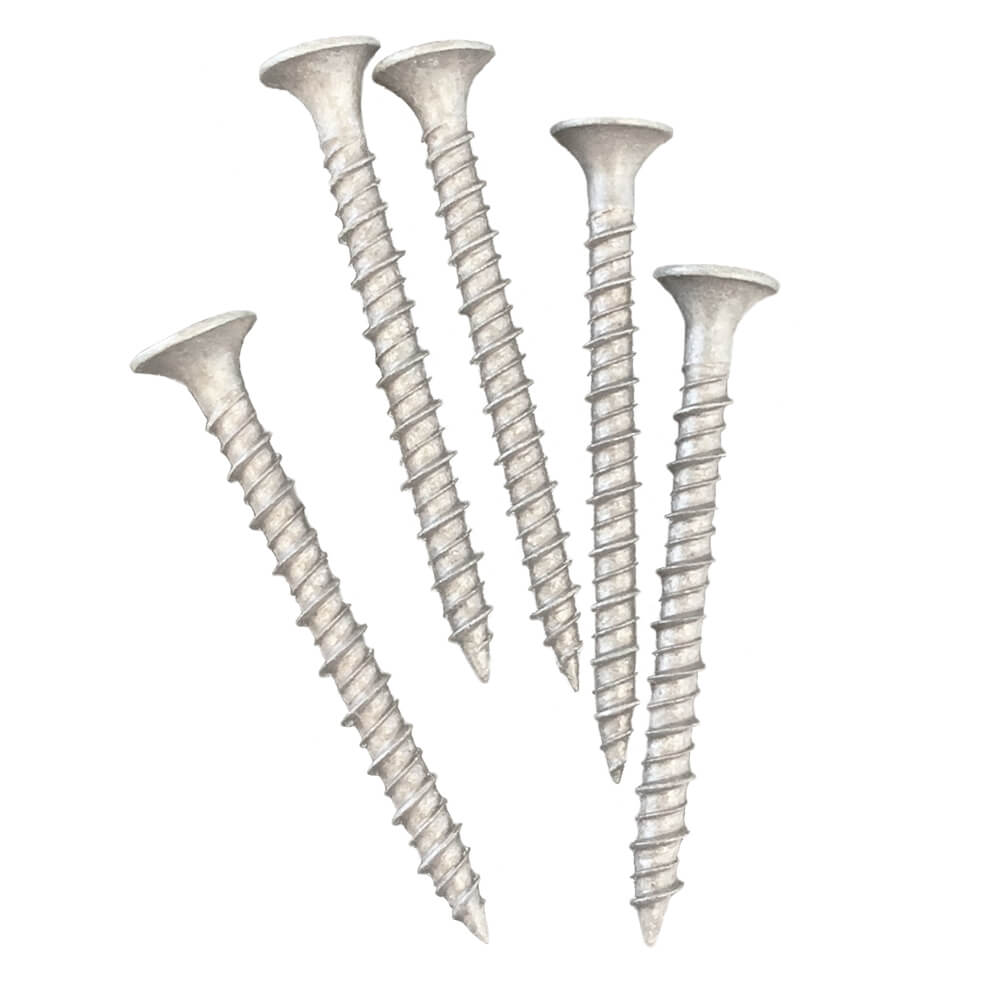
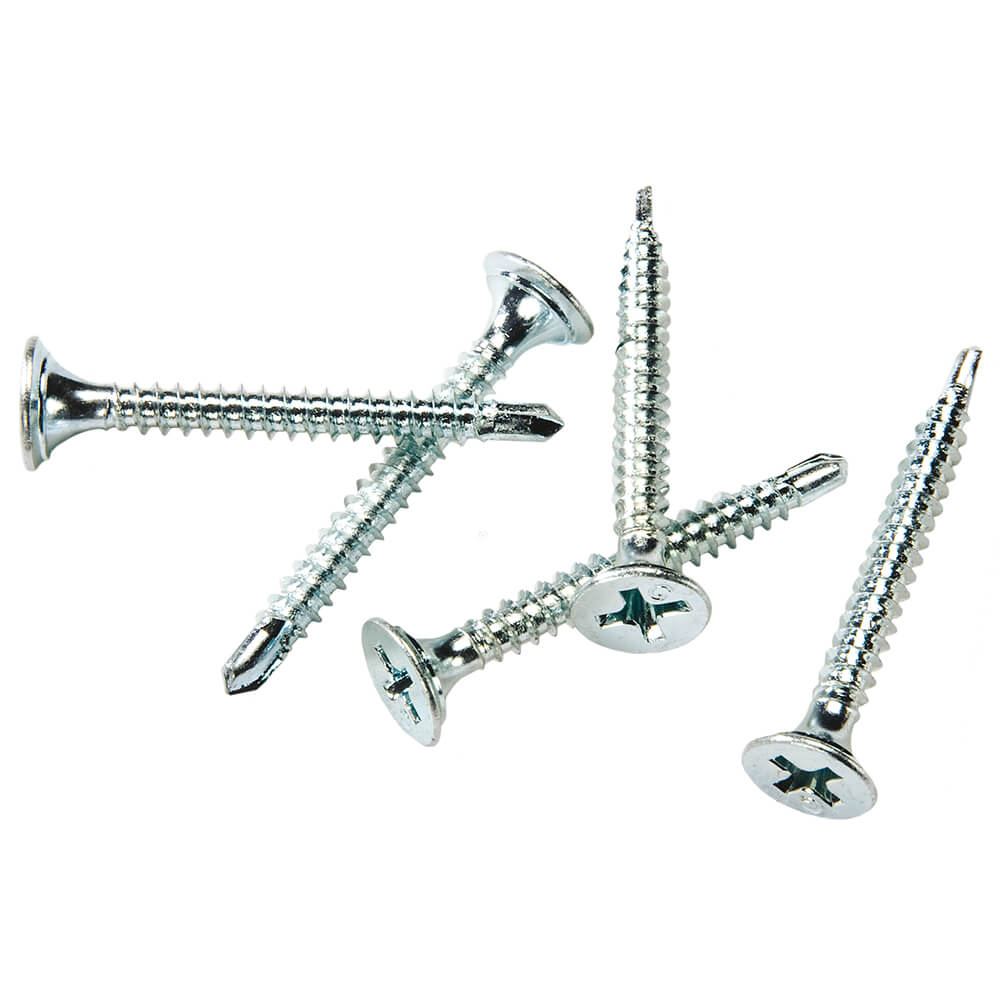
Wedi Fastener Kit - Used to fasten Wedi Building Panels to wall framing structure.
- Average shower or steam room installation uses one Wedi screw and washer per square foot of Wedi Building Panel.
Note: on a ceiling application, you will need to double the amount of fasteners (ceiling square footage multiplied by 2 + wall square footage for the total washers/screws needed).
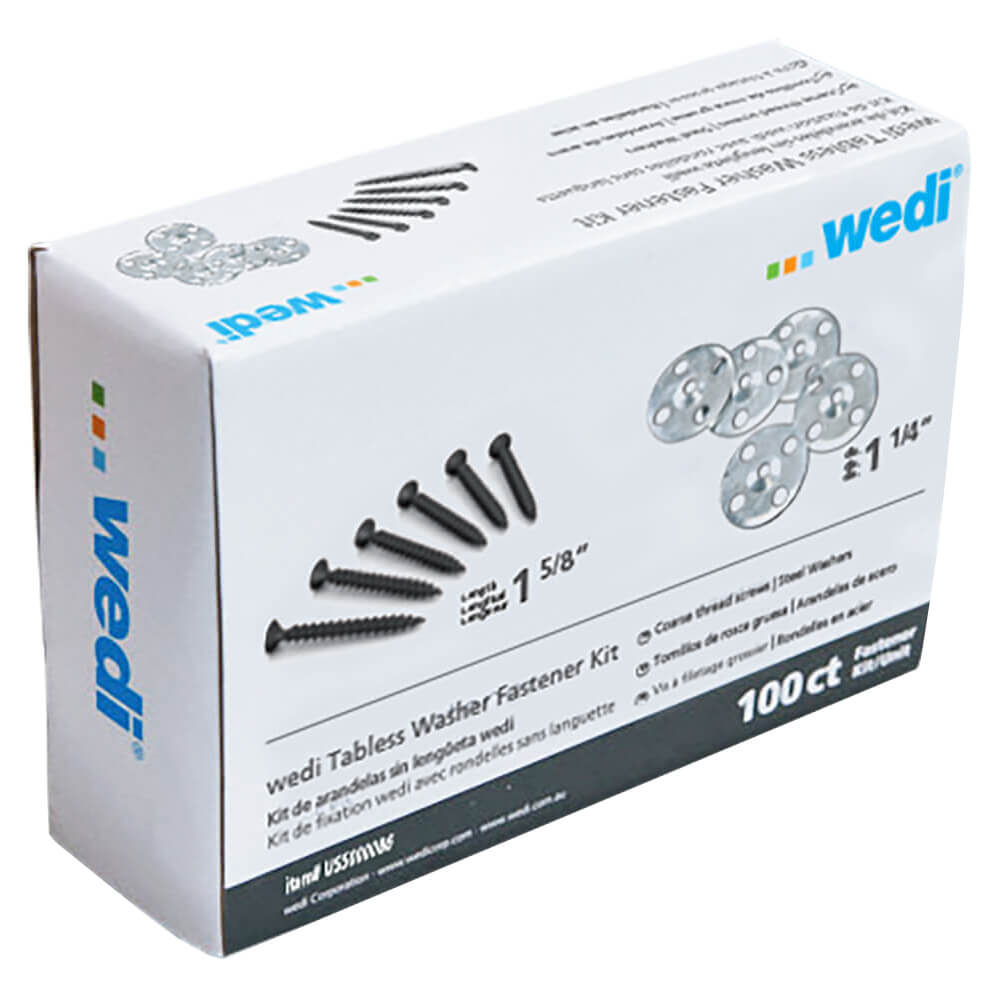
Wedi Tabless Fastener Kit - Used for Vapor 85 assemblies (and flooring installations with 1/8 in. or 1/4 in. Wedi Building Panels).
- Average shower or steam room installation uses one wedi screw and washer per square foot of Wedi Building Panel.
Note: on a ceiling application, you will need to double the amount of fasteners (ceiling square footage multiplied by 2 + wall square footage for the total washers/screws needed)
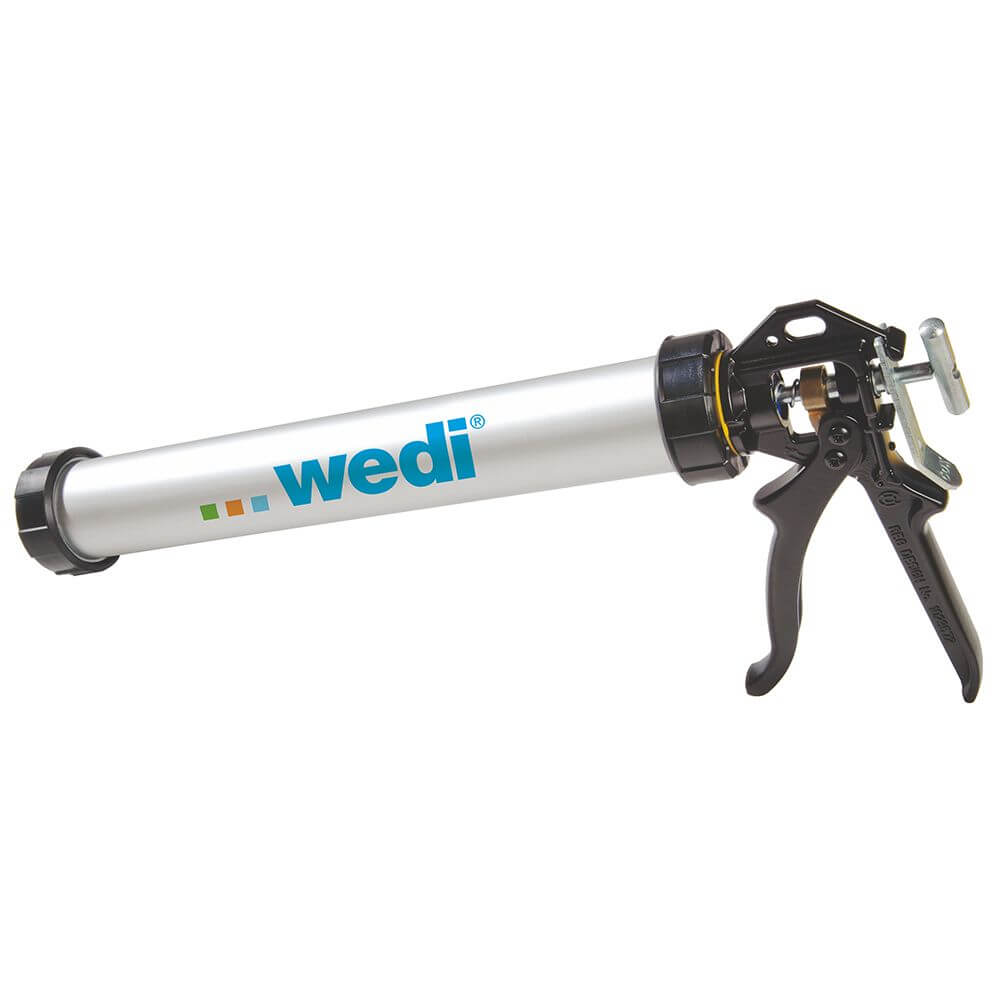
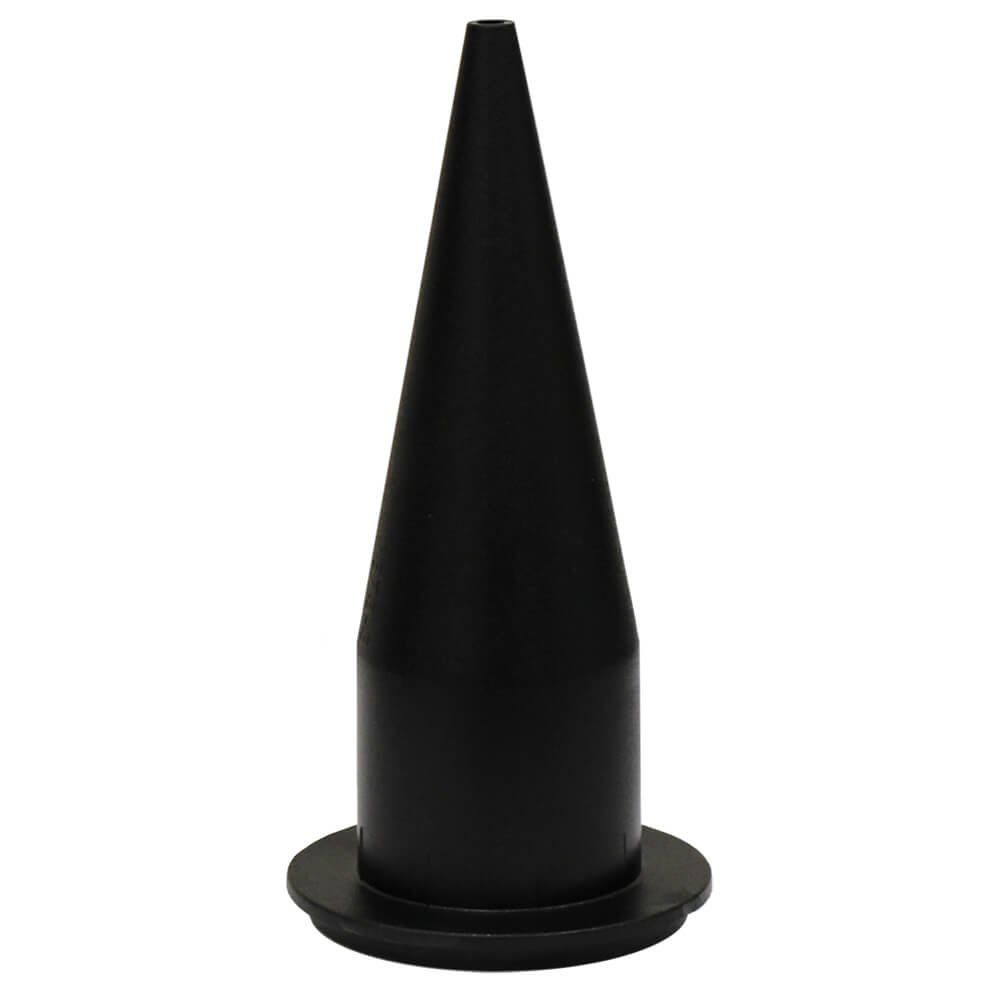
Wedi Sealant Gun and Replacement Tips - Used to easily apply Wedi Joint Sealant, Sealant 620, or (other adhesives).
- Used with either 10.5 oz. cartridges or 20 oz. sausages
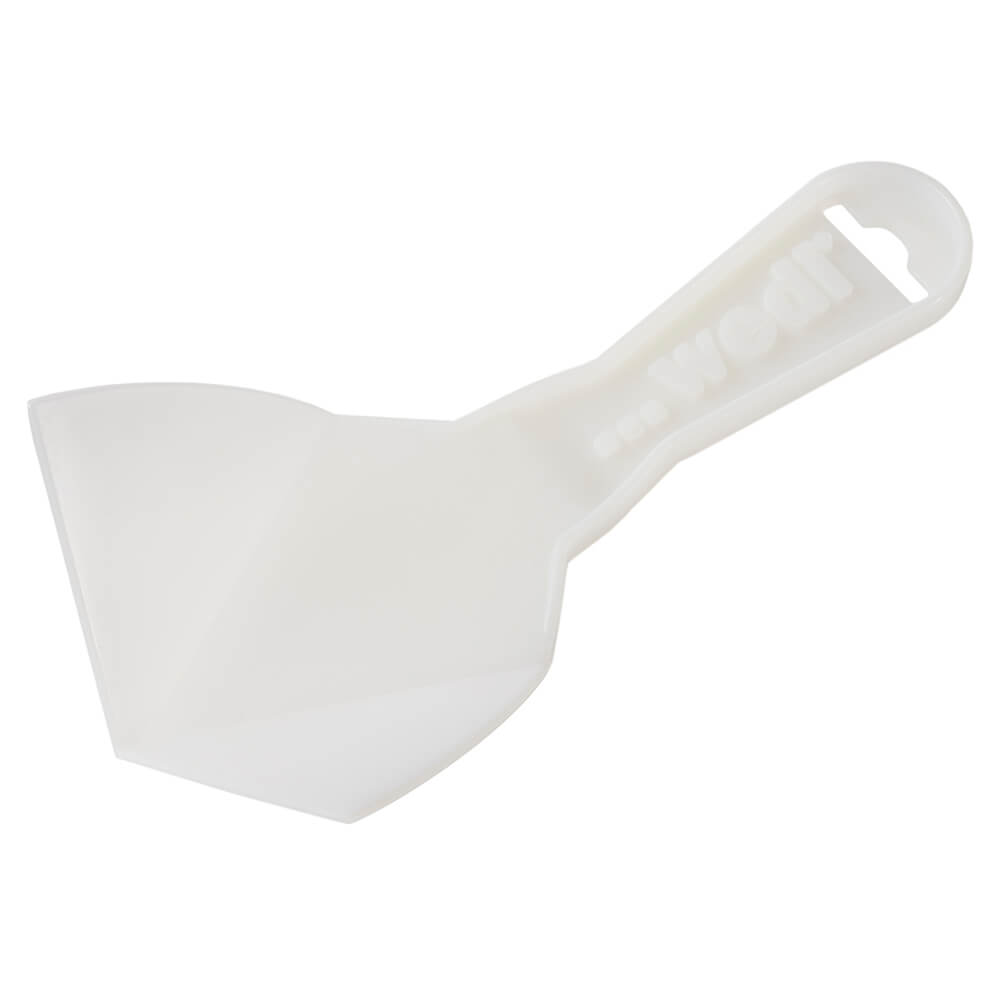
Wedi Corner Putty Knife - Used to smooth out Wedi Joint Sealant or Sealant 620 applications.
- Putty knife blade markers indicate proper seam treatment width
- Specially-shaped with round tip for corner seam sealant application and often used in combination with standard flat putty knifes on flat seams or fastener point sealant application
- Average shower or steam room installation uses one Wedi screw and washer per square foot of Wedi Building Panel.
Step 5: Choose Premium Finishing Upgrades
After you have chosen your installation accessories, it’s time to choose your final finishings. Wedi offers a variety of premium finishing upgrades to put the perfect final touches on your bathroom design. Choose a drain cover or niche shelf finish to match the other fixtures in your bathroom.
-
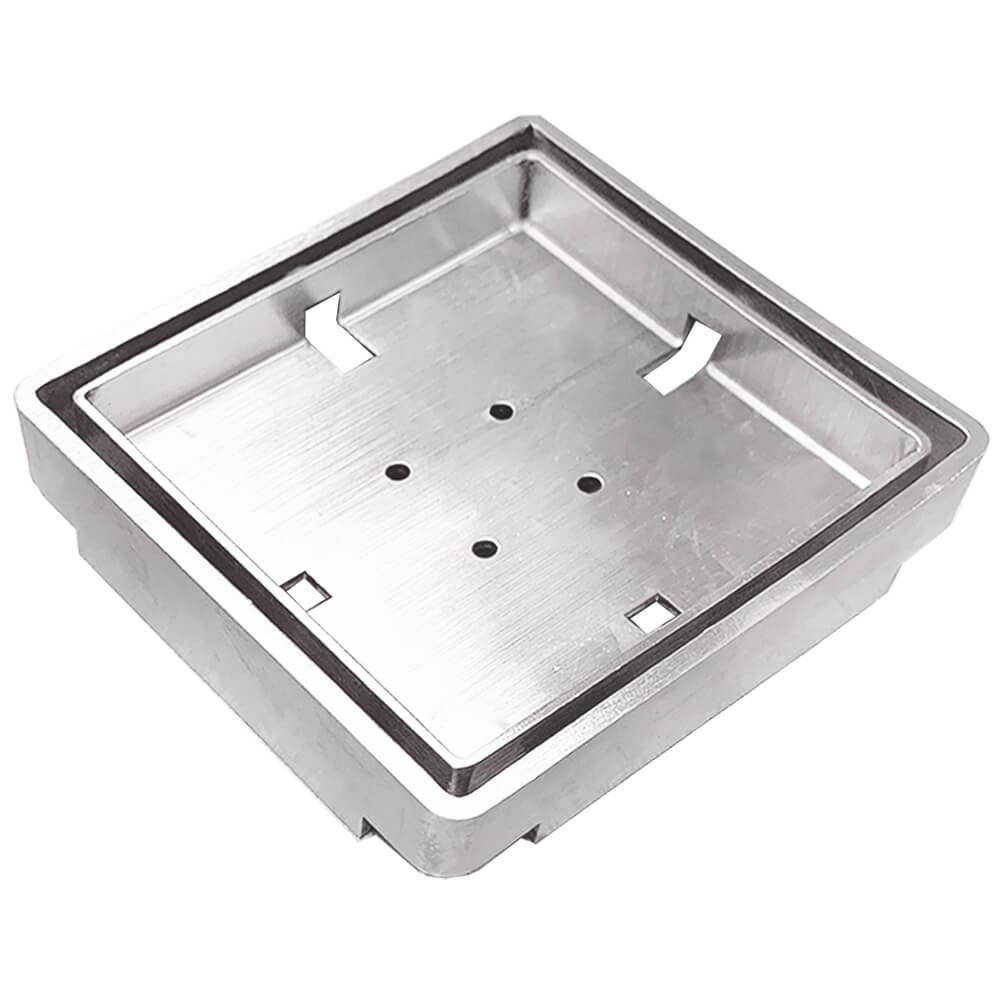
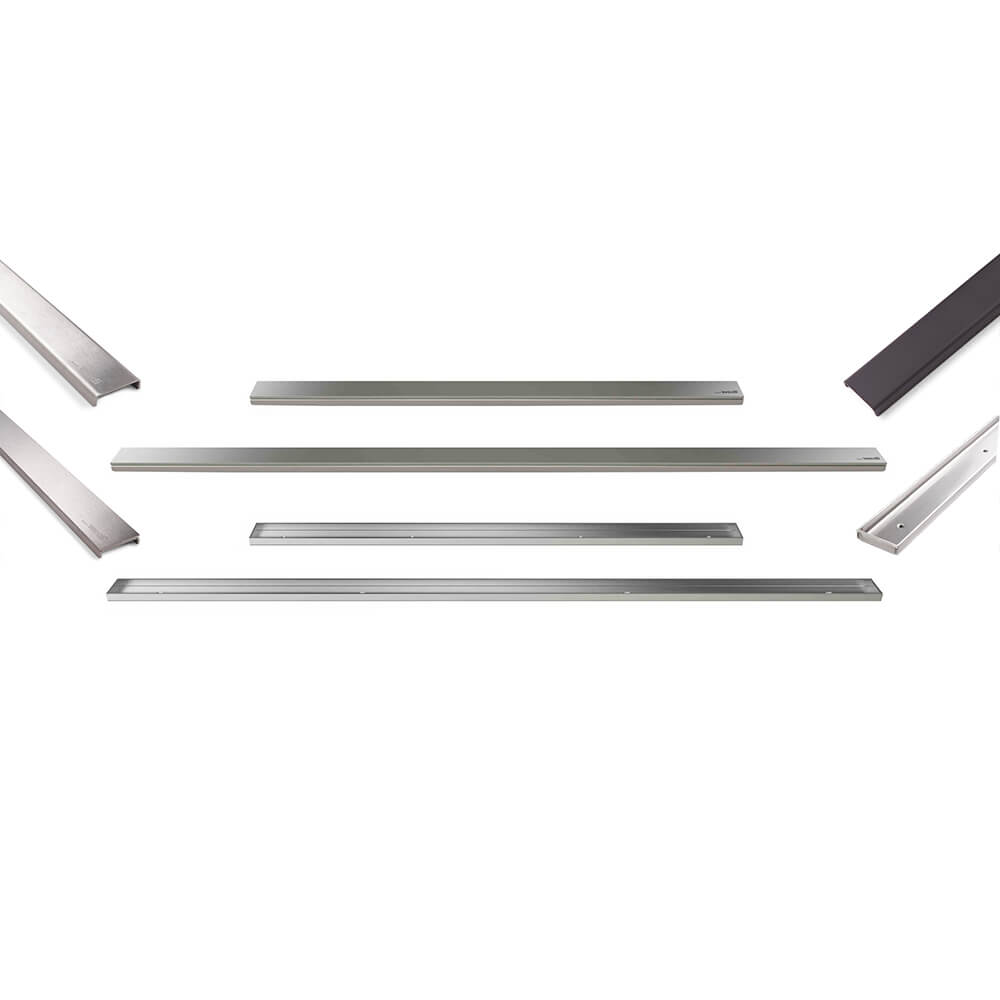
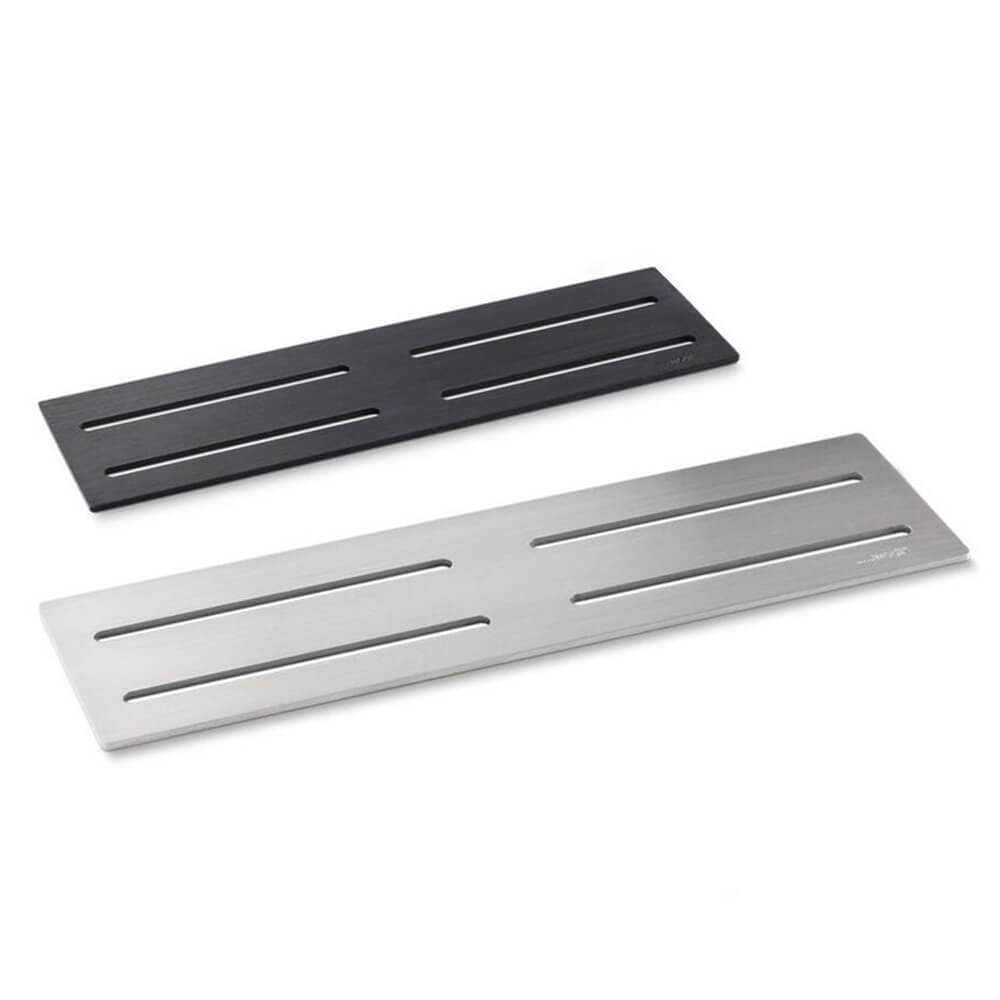
Wedi Drain Covers
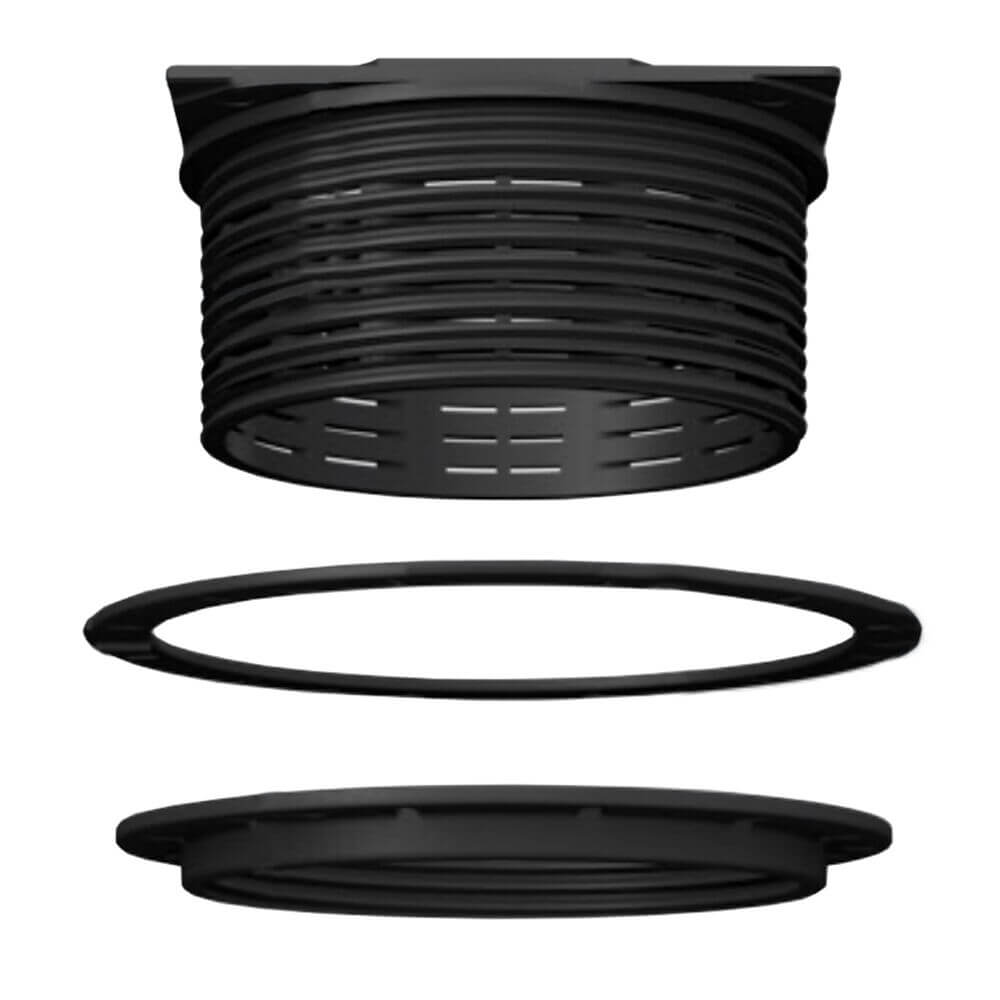
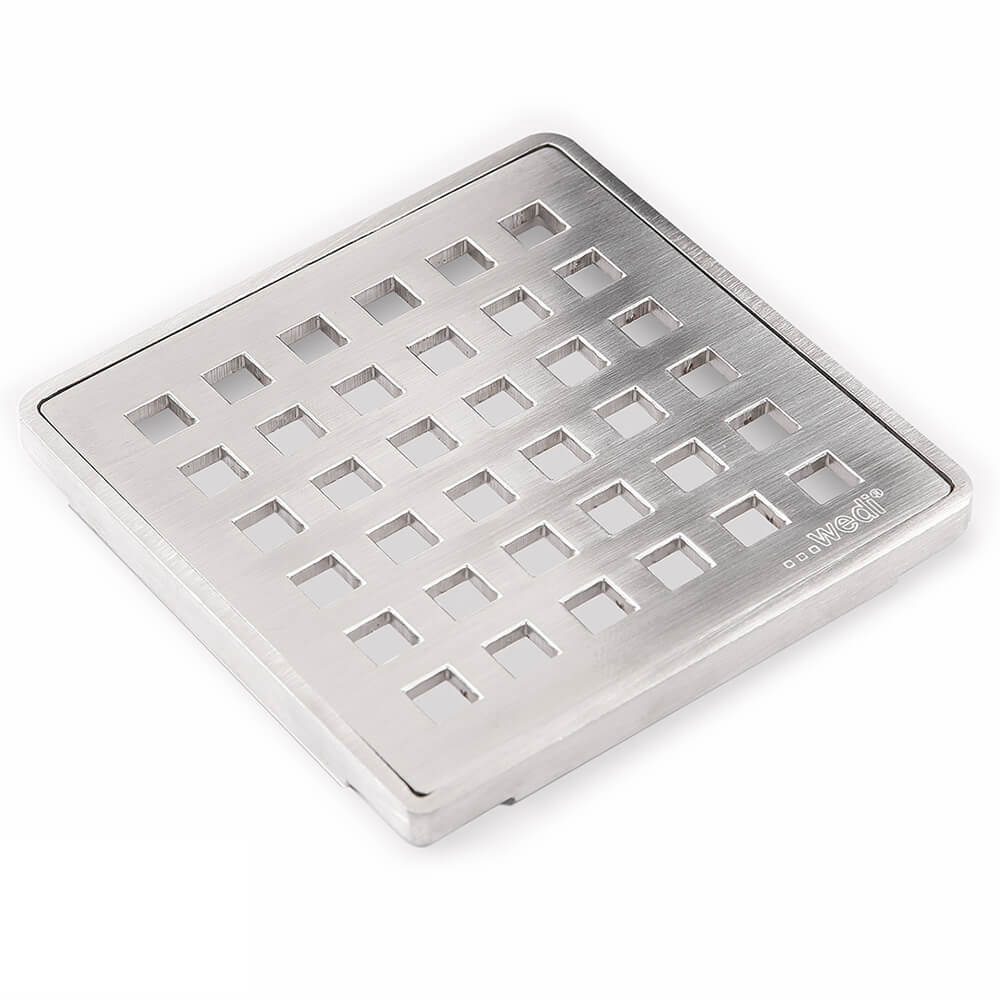
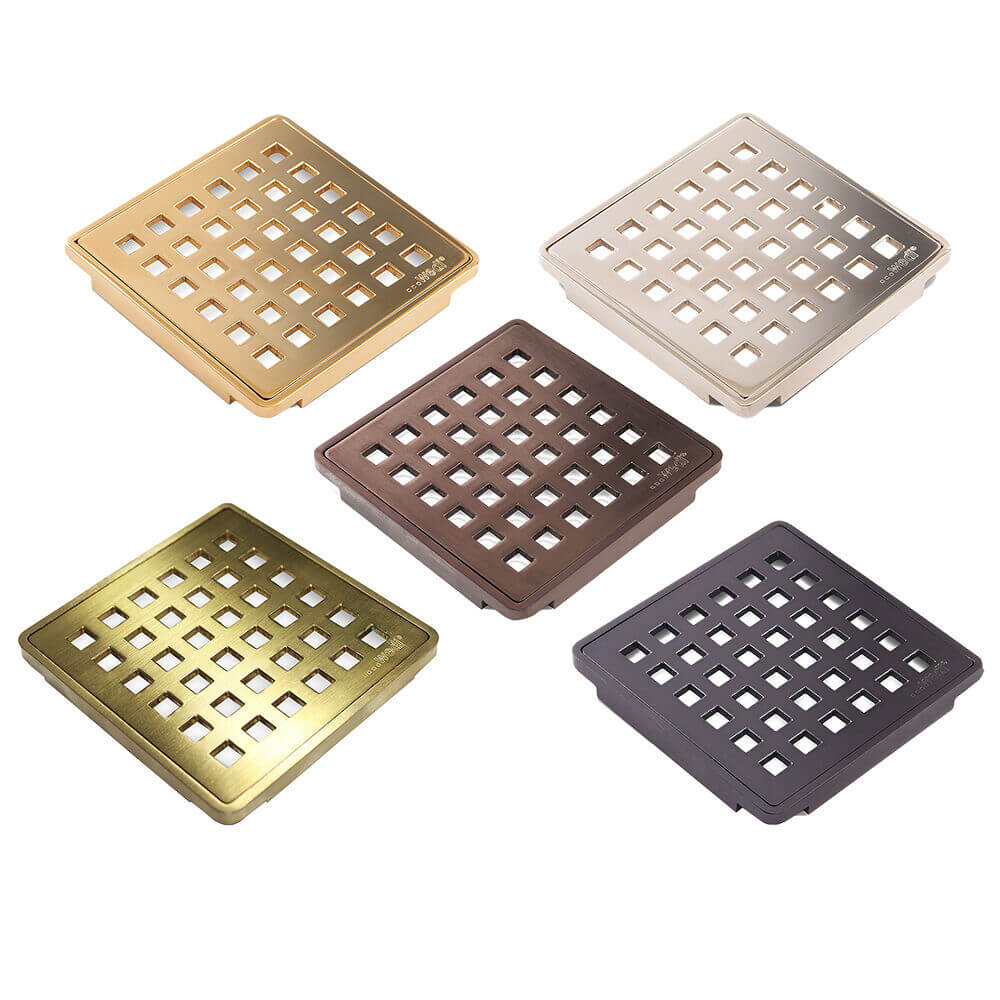
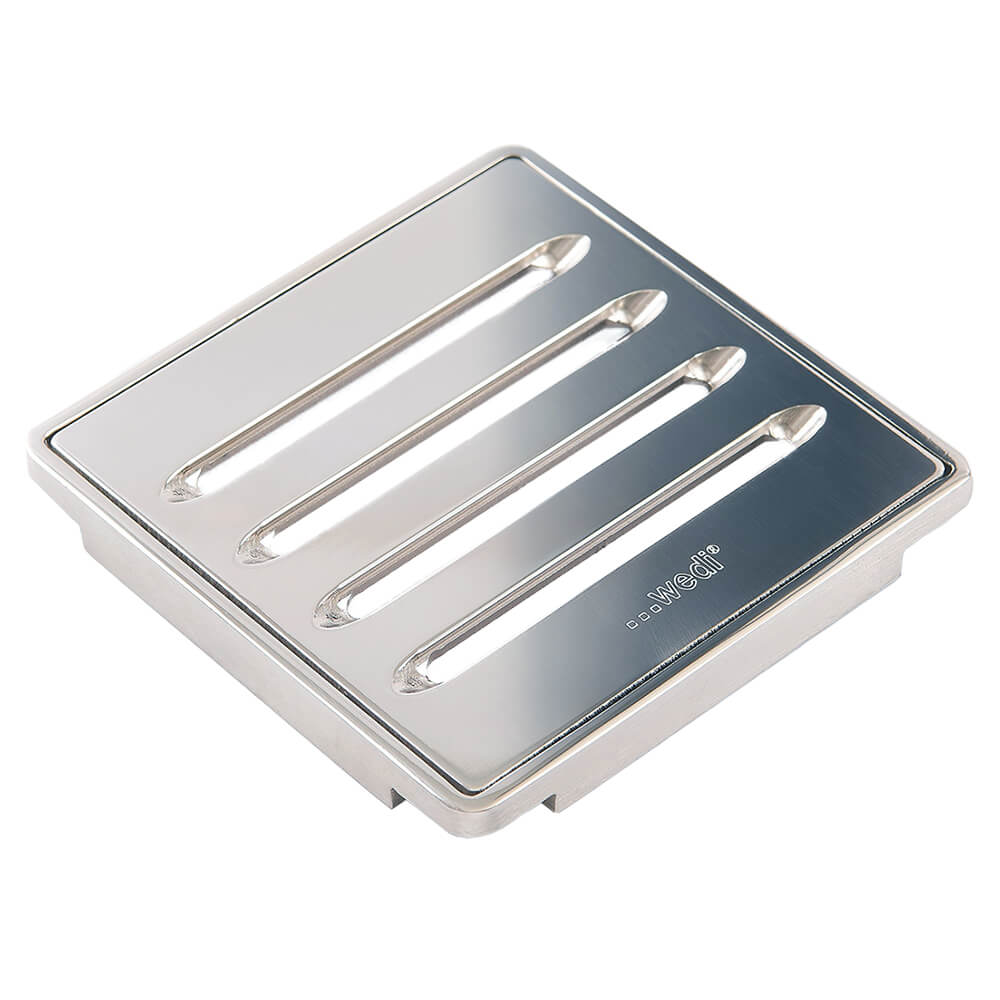
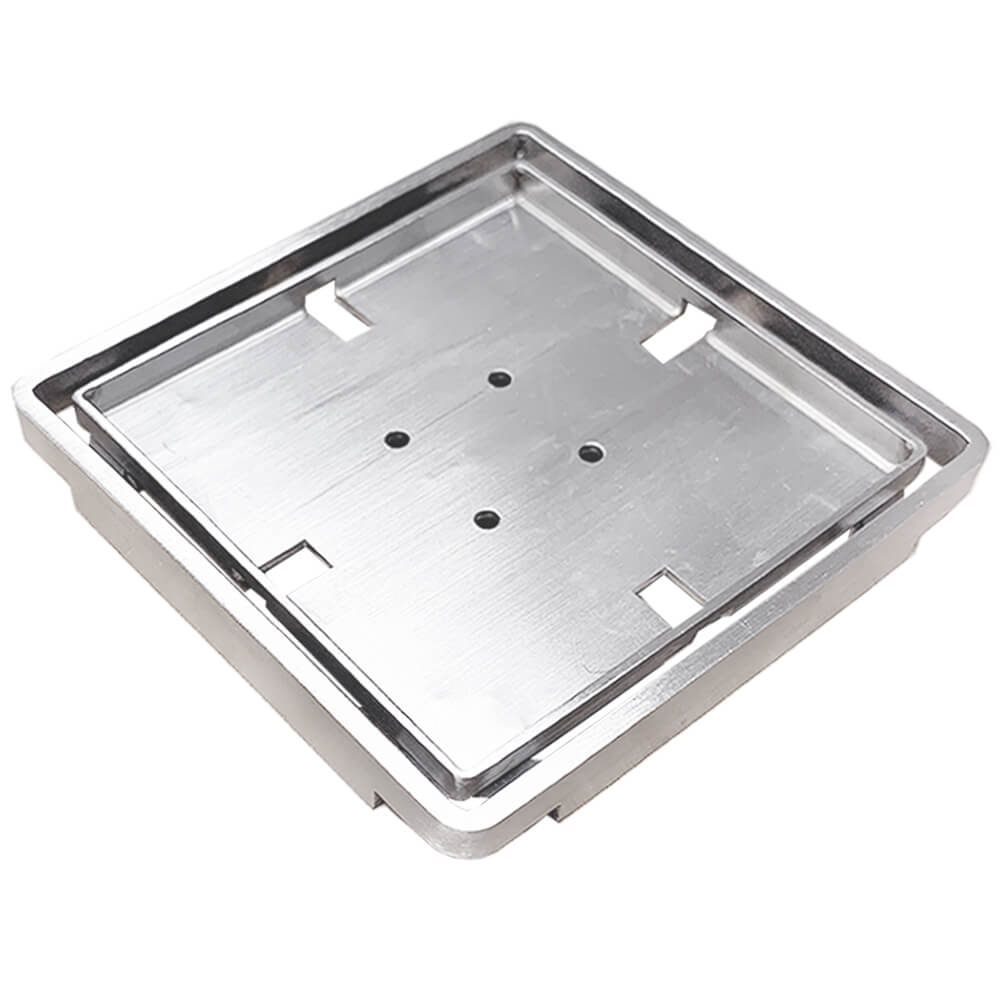
Each Wedi Shower Floor Bases includes a Wedi Fundo Click and Seal Drain Kit. Drain Covers are sold separately to allow you to select one of Wedi's Drain Cover Set options available in various colors and designs.
Features:
- Hand-finished, and laser-cut for precision
- Square point and linear drains available
- Heavy gauge, high-quality stainless steel, with finishes that resist physical and chemical exposure challenges commonly found in wet room installations.
-
Wedi Shower Niche Shelves
If you are adding a niche to your design, you can choose a premium shelf to replace the tileable foam shelf that comes with some of Wedi’s larger niches, and match it to your chosen drain cover.
Features:
- Available in low-iron, clear, tempered glass with pencil-polished edge; brushed stainless steel finish; or aluminum anodized in matte black finish
- Installed with Wedi Joint Sealant or clear silicone, resting on niche tile assembly.

